Key Lime & Vanilla Cake
This key lime sponge cake is so easy and requires no skill at all. You need a weighing scale and an oven which majority of you own already.
The ingredients will already be in your pantry, if not, then an excuse to go shopping :)
This recipe can be customised to any flavour you like too; we thought we'd give it a spring/summer twist using fresh lime juice and the zest, for the extra kick.
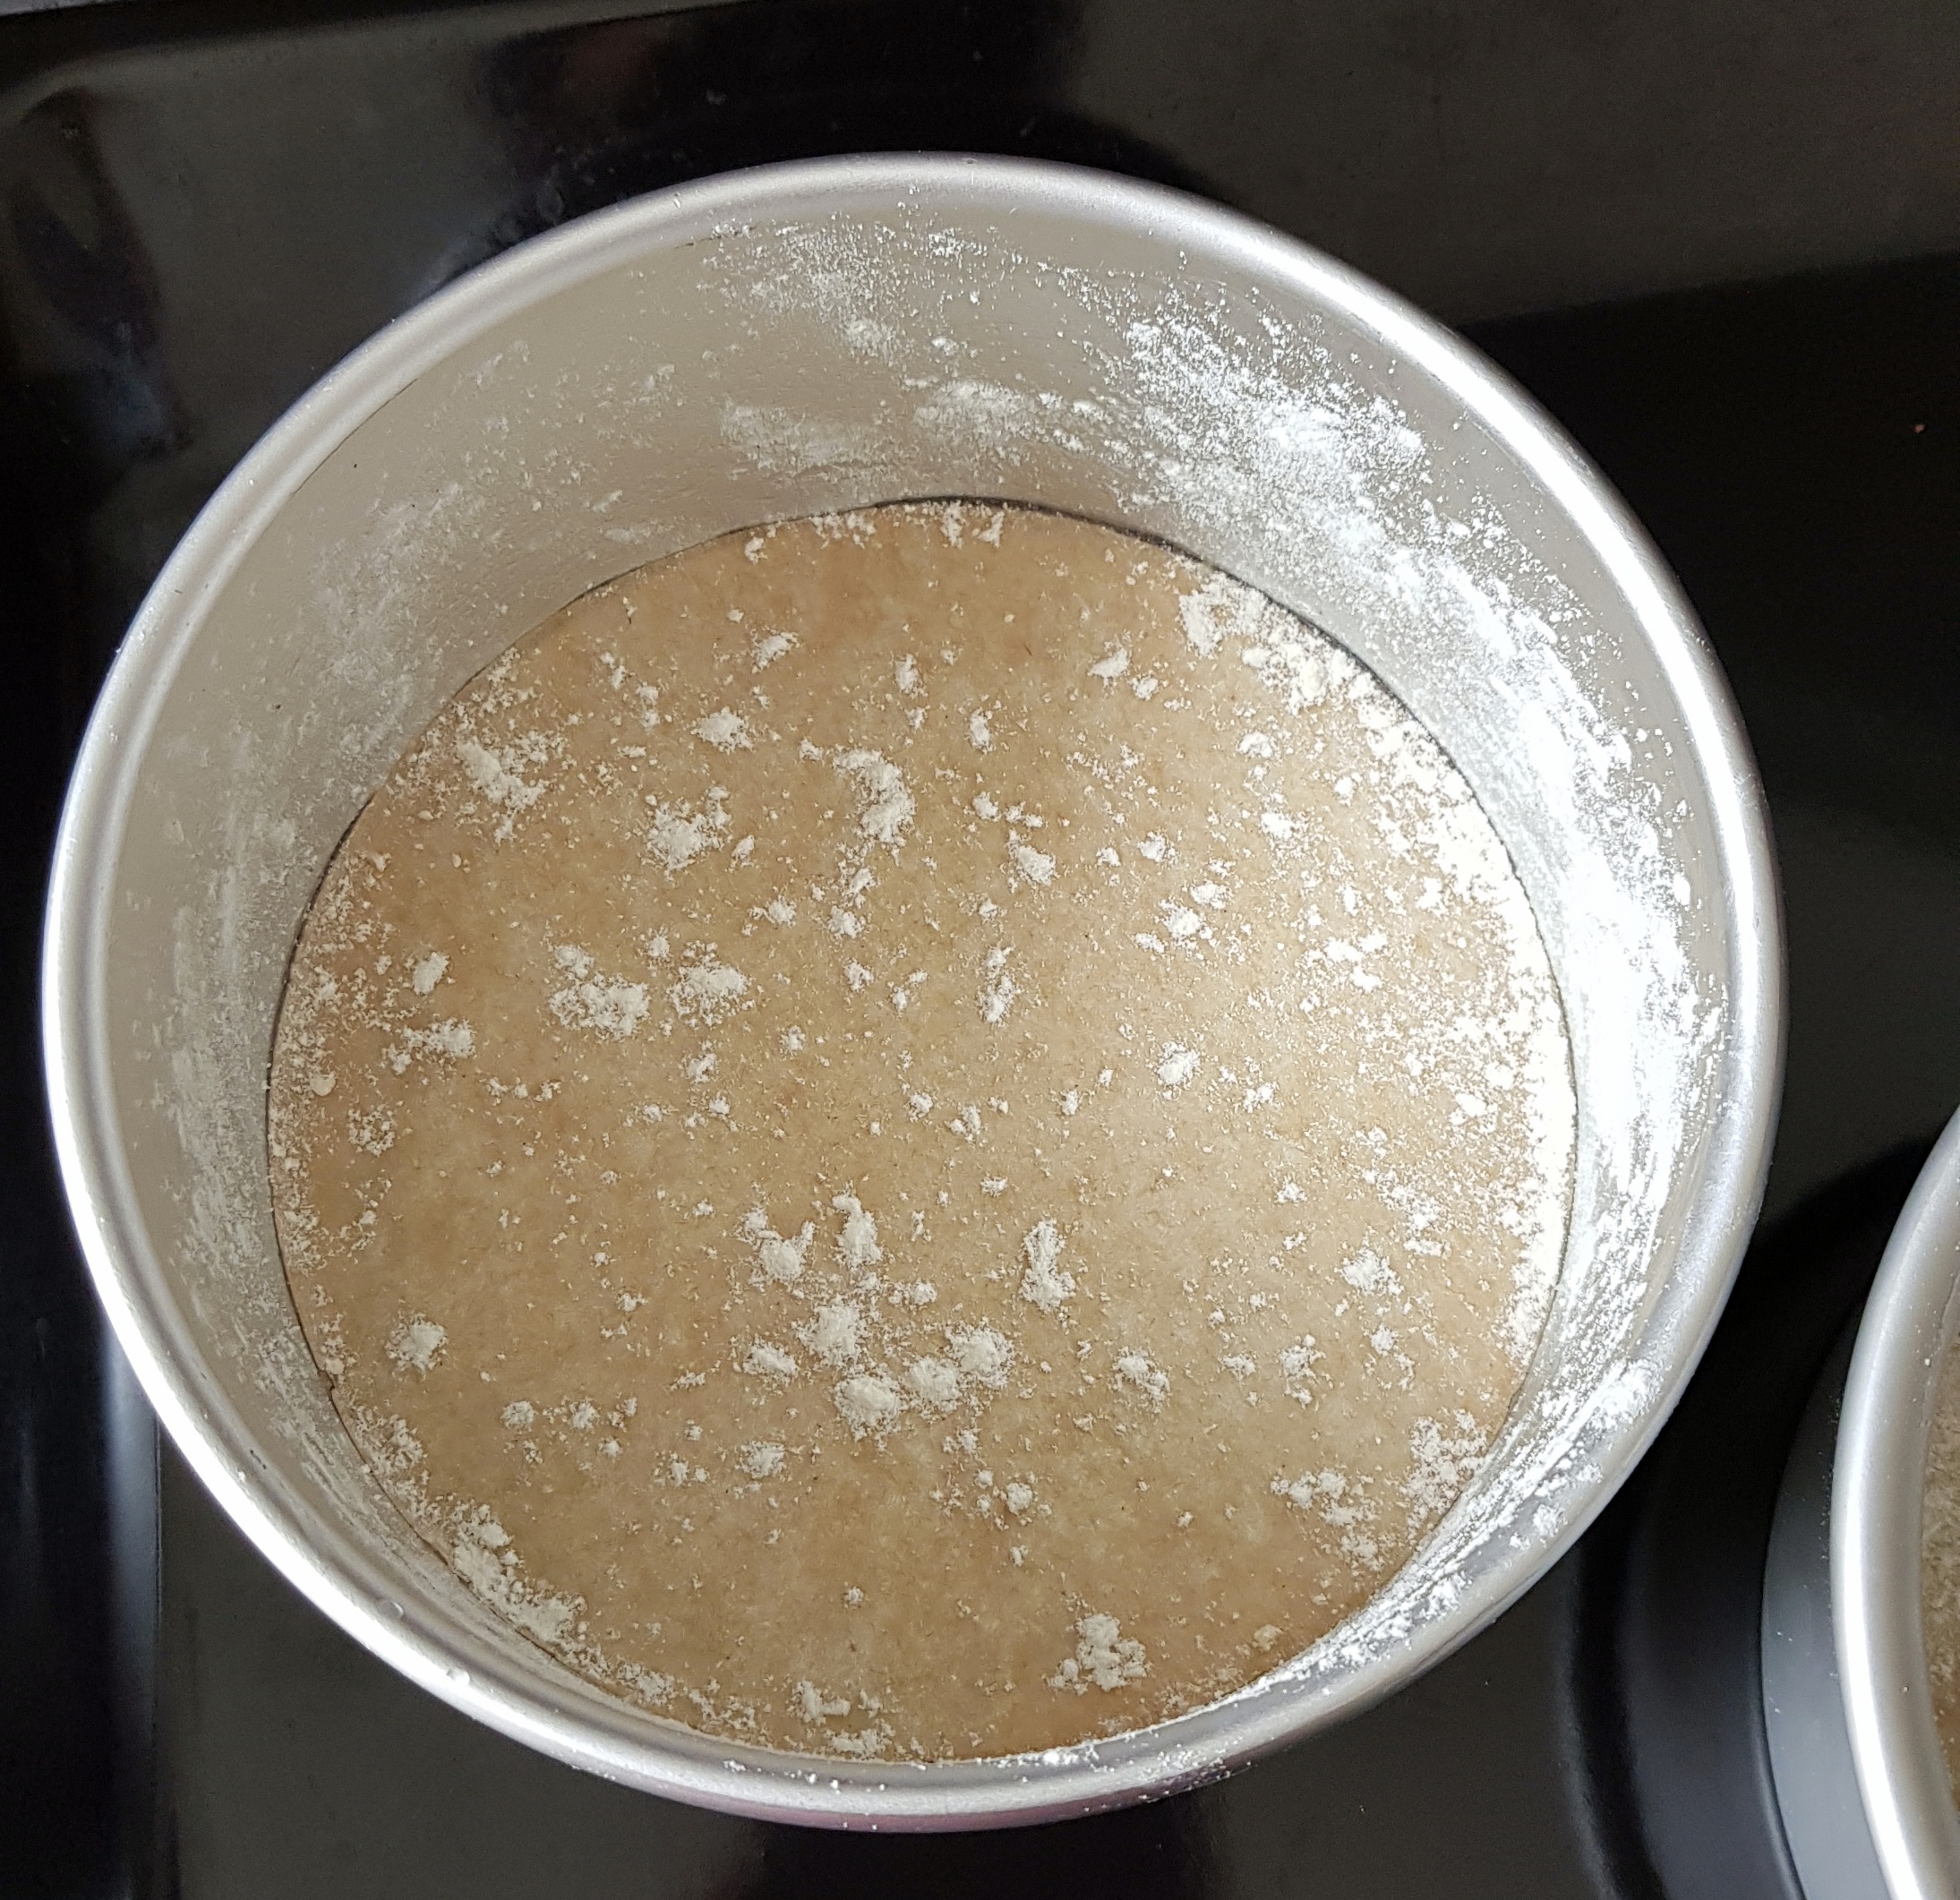
Equipment: x3 6 inch round cake tins, lined and greased with a thin layer of flour.
 Cake Ingredients:
 Method:
1. Preheat the oven to 180c fan, line, grease and flour three round 6-inch tins.
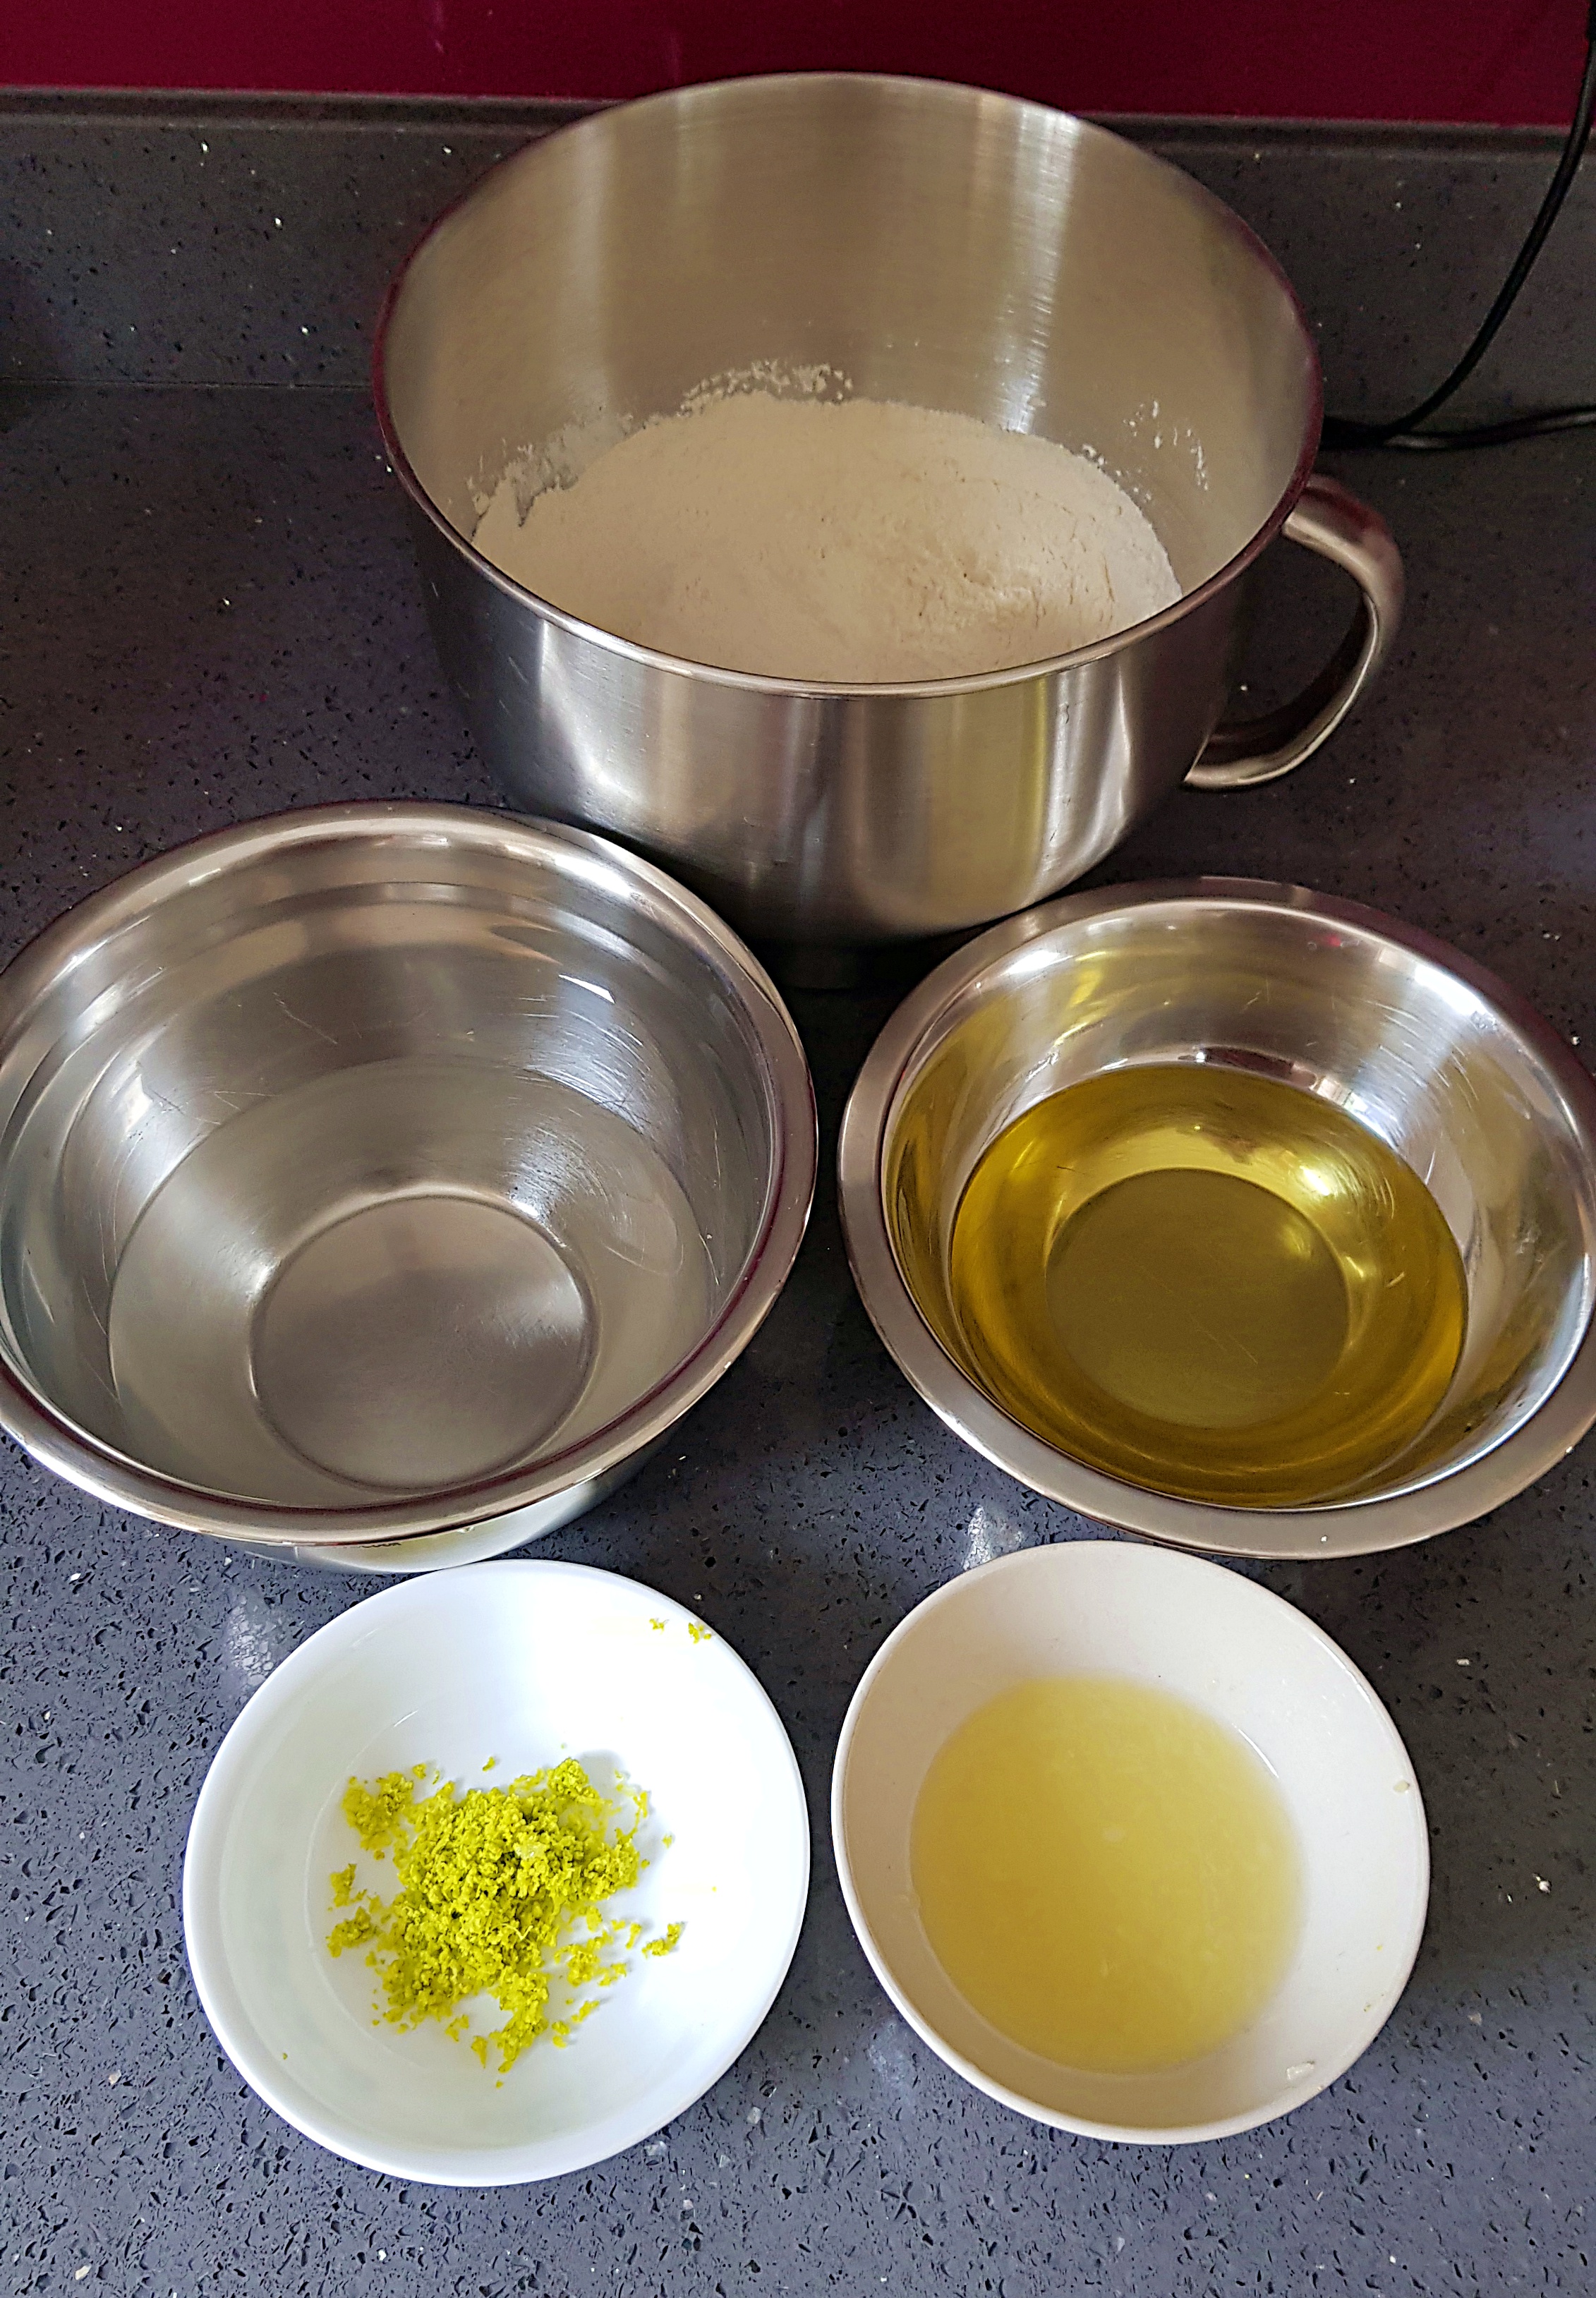
2. Sift the dry ingredients in a large mixing bowl. You can sieve in your freestanding mixing bowl if using.
3. Whisk the wet ingredients together in one bowl. Once all appropriately combined, add the wet to the dry and mix into a smooth batter.
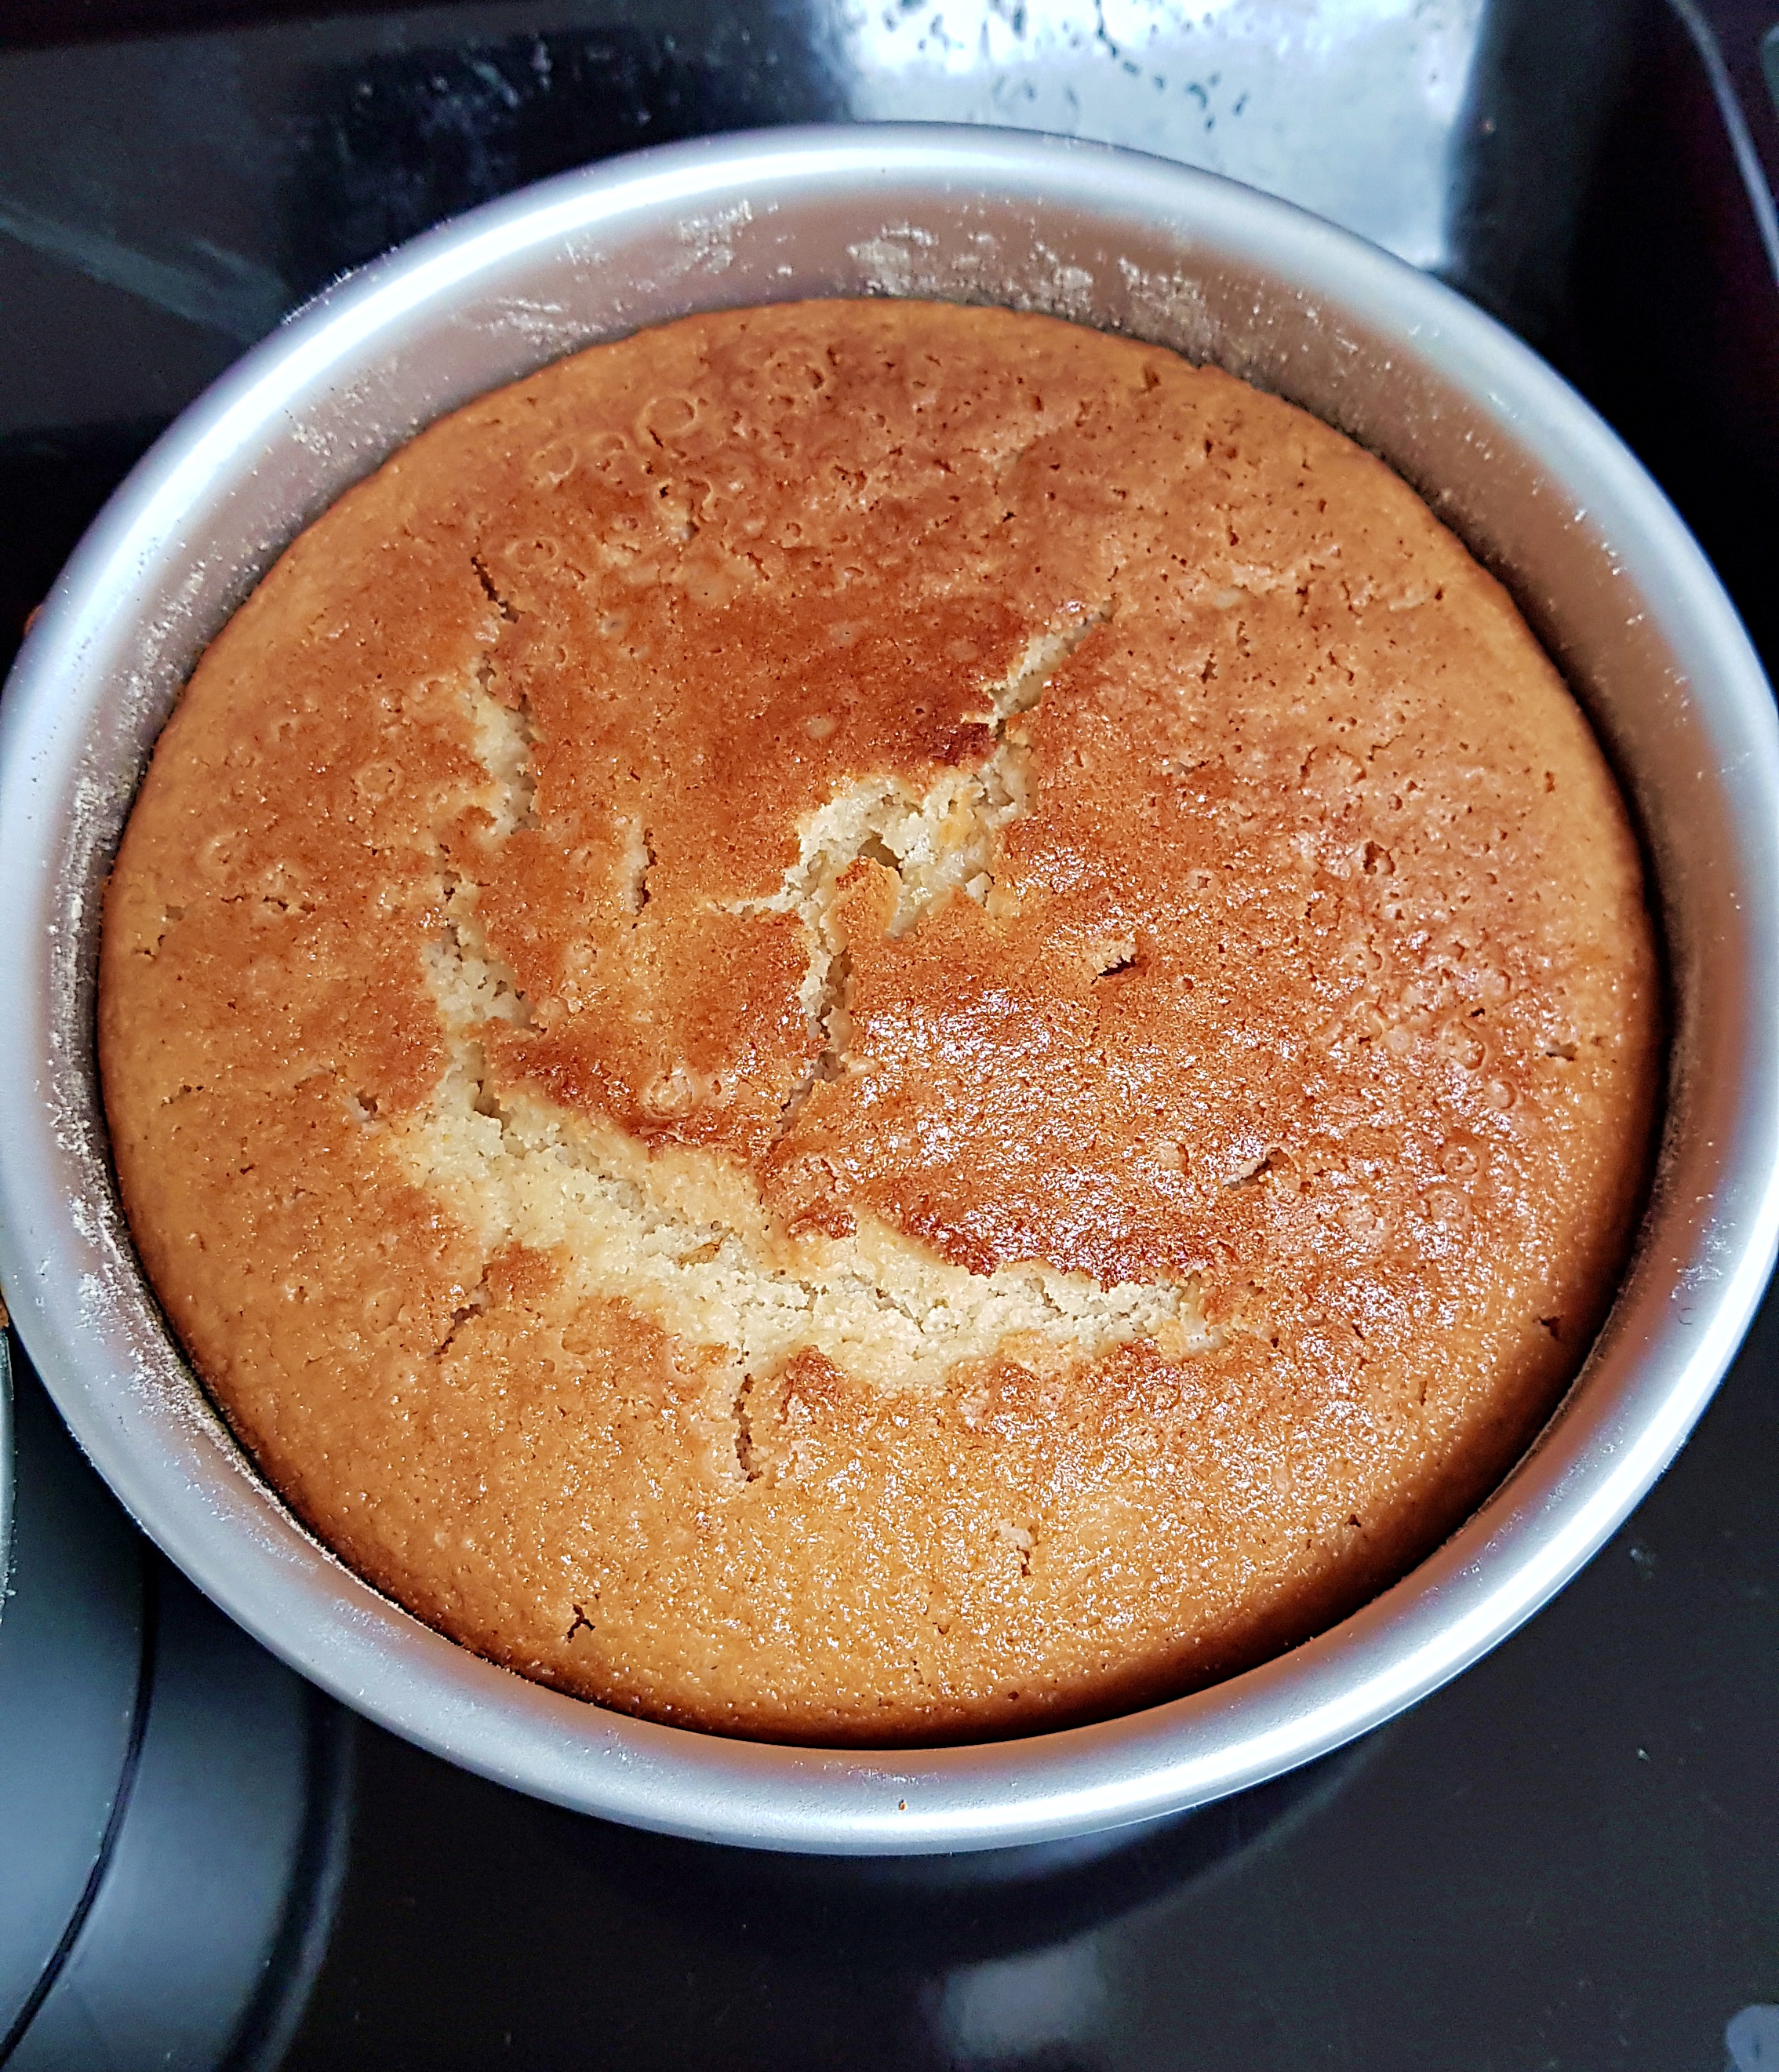
4. Divide the mixture between the tins. Bake for 35-40 minutes, or until a skewer comes out clean.
5. Remove from the oven once the cakes are baked. Allow to cool in the tin for 10 minutes, then transfer to a wire rack and continue to cool at room temperature.
Method:
1. Preheat the oven to 180c fan, line, grease and flour three round 6-inch tins.
2. Sift the dry ingredients in a large mixing bowl. You can sieve in your freestanding mixing bowl if using.
3. Whisk the wet ingredients together in one bowl. Once all appropriately combined, add the wet to the dry and mix into a smooth batter.
4. Divide the mixture between the tins. Bake for 35-40 minutes, or until a skewer comes out clean.
5. Remove from the oven once the cakes are baked. Allow to cool in the tin for 10 minutes, then transfer to a wire rack and continue to cool at room temperature.
 For more sharpness in taste, you can brush it with lime syrup.
Lime Syrup:
For more sharpness in taste, you can brush it with lime syrup.
Lime Syrup:
 Best eaten on the day. Slice up and store in an airtight container and place in the refrigerator. It will keep well for five days.
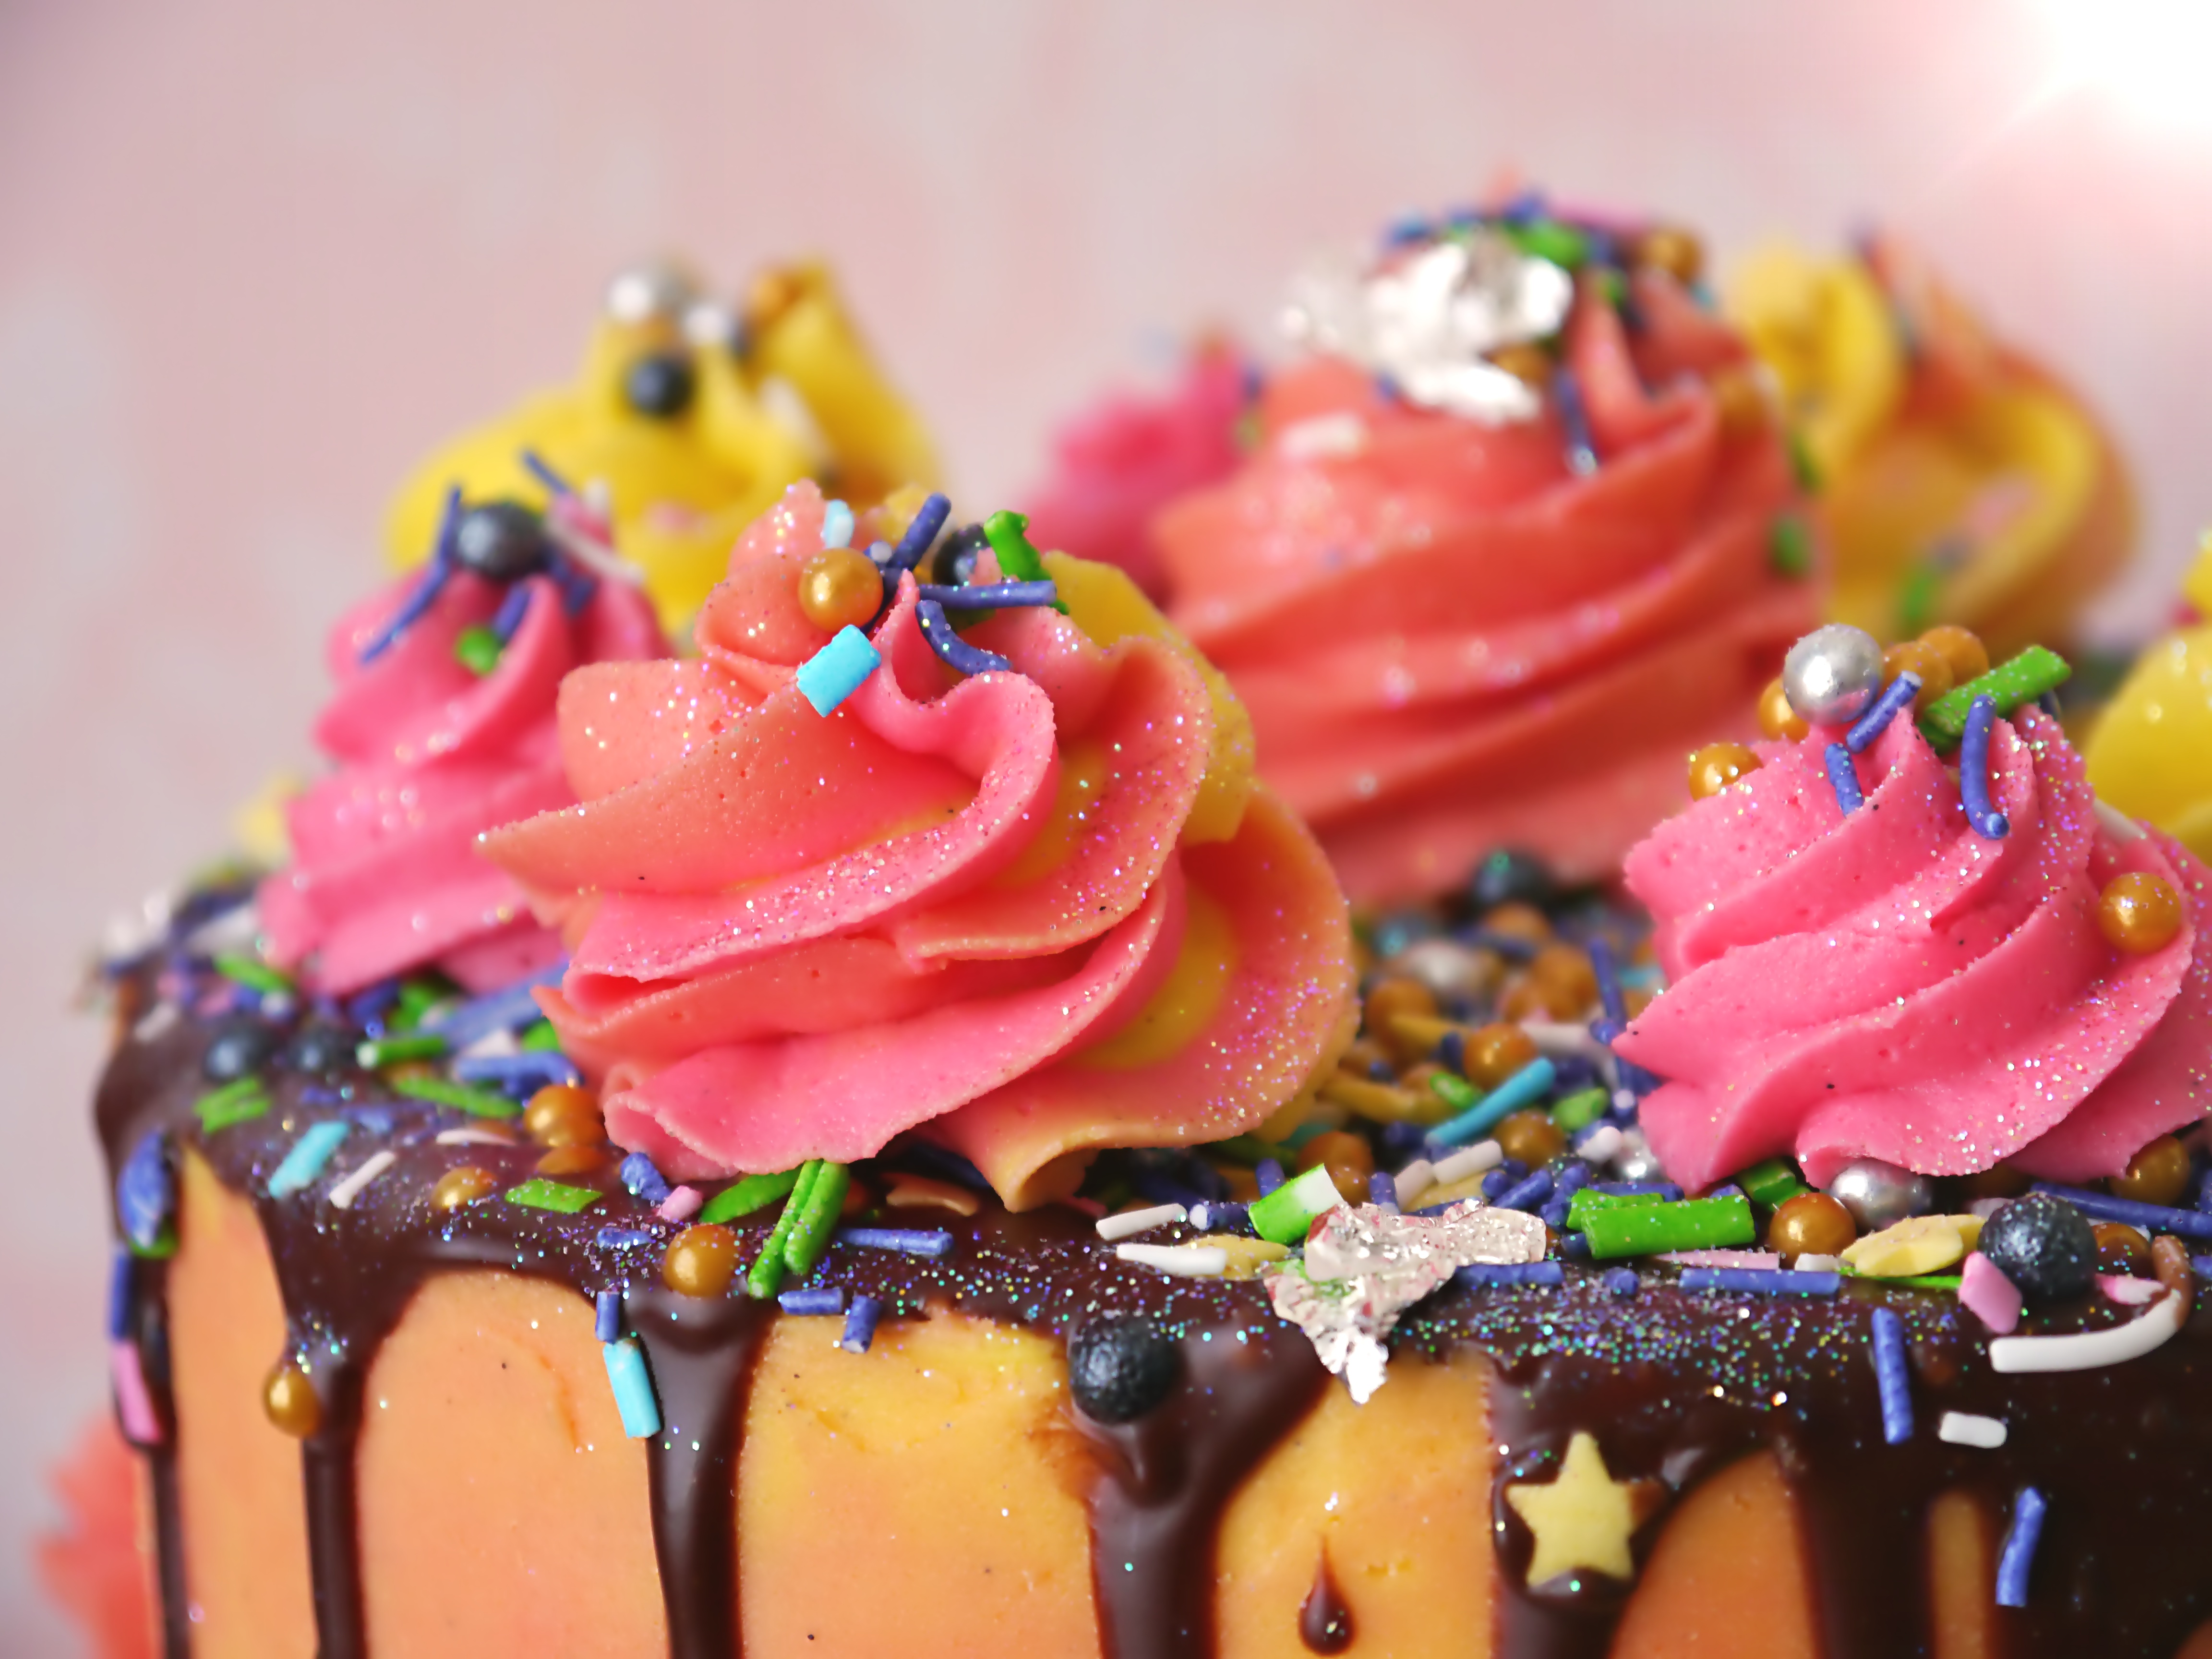
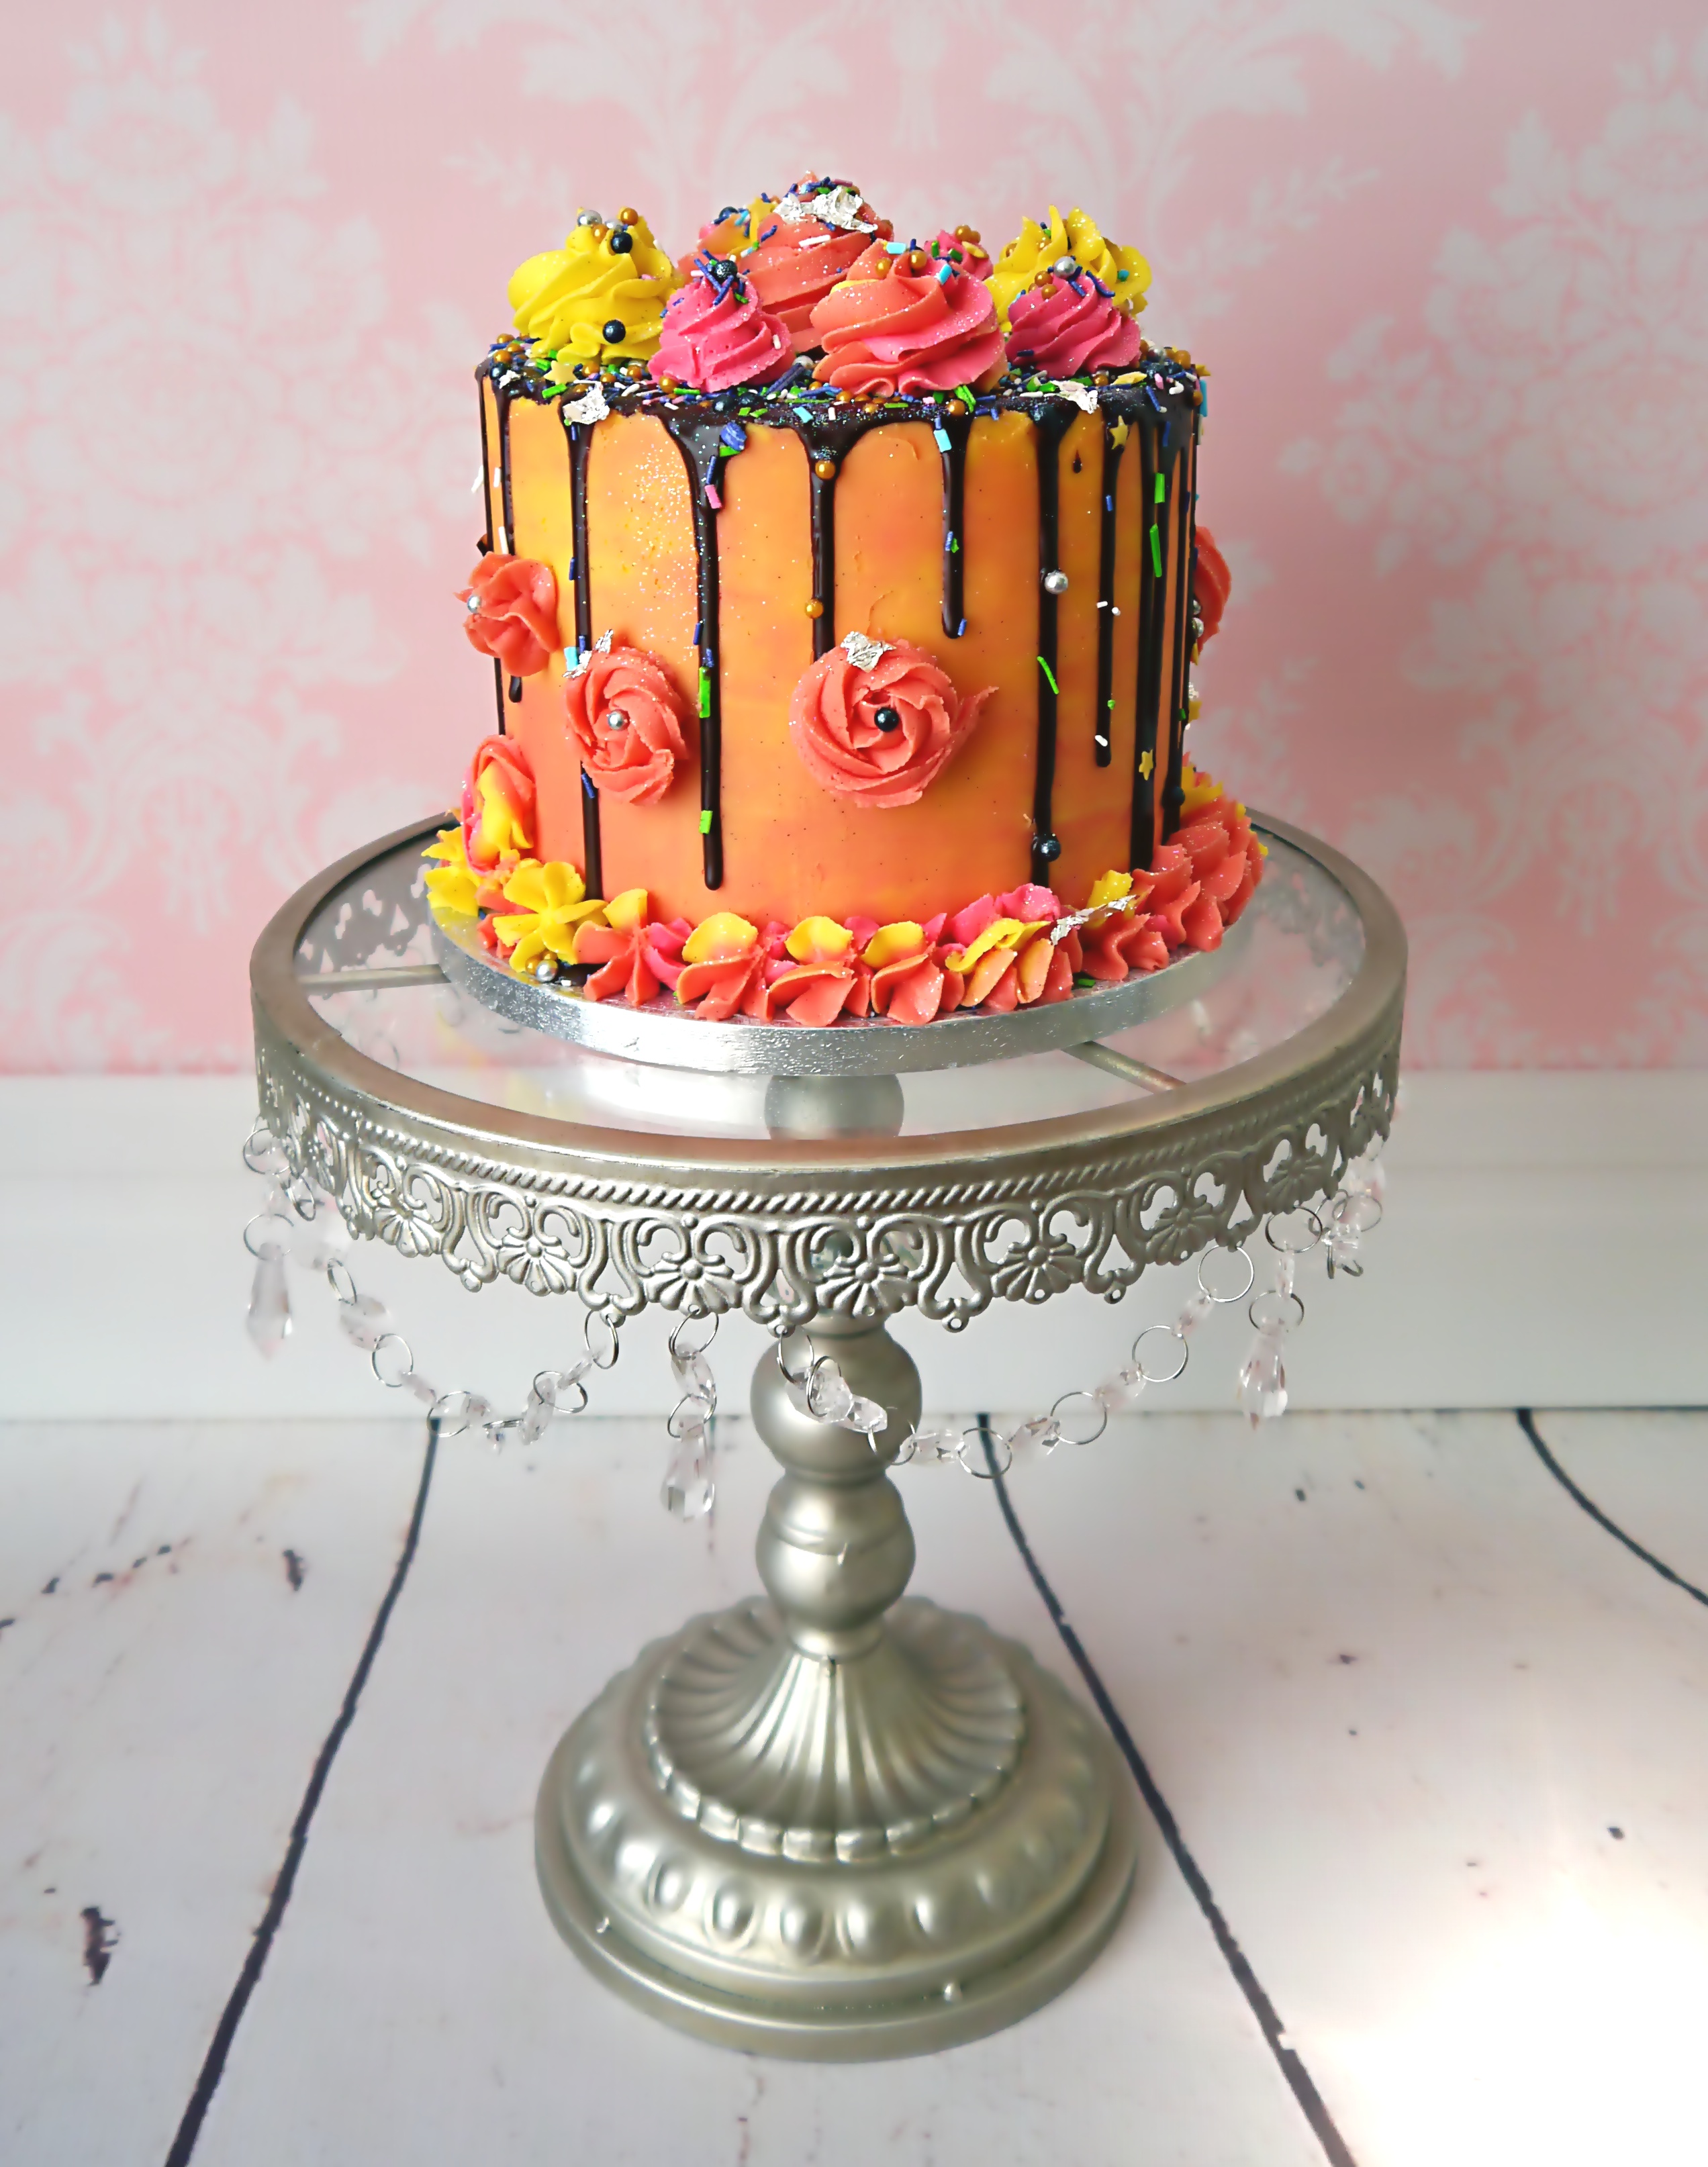
There you have it, your own baked and fully decorated cake. Tastes extra delish and looks fancy. Make it for a birthday, wedding or party — pairs nicely with strawberry sorbet.
Best eaten on the day. Slice up and store in an airtight container and place in the refrigerator. It will keep well for five days.
There you have it, your own baked and fully decorated cake. Tastes extra delish and looks fancy. Make it for a birthday, wedding or party — pairs nicely with strawberry sorbet.
Cake Ingredients:
- 500g self-raising flour
- 360g caster sugar
- 1 1/2 tsp baking powder
- 2 limes - zested and juiced
- 180ml vegetable oil
- 365ml cold water
Method:
1. Preheat the oven to 180c fan, line, grease and flour three round 6-inch tins.
2. Sift the dry ingredients in a large mixing bowl. You can sieve in your freestanding mixing bowl if using.
3. Whisk the wet ingredients together in one bowl. Once all appropriately combined, add the wet to the dry and mix into a smooth batter.
4. Divide the mixture between the tins. Bake for 35-40 minutes, or until a skewer comes out clean.
5. Remove from the oven once the cakes are baked. Allow to cool in the tin for 10 minutes, then transfer to a wire rack and continue to cool at room temperature.
For more sharpness in taste, you can brush it with lime syrup.
Lime Syrup:
- 2 limes - zested and juiced
- 85g caster sugar
- 30ml water
- 500g unsalted butter - softened at room temperature
- 1kg icing sugar
- 2 tbsp cold water
- 1.5 tbsp vanilla paste (you can use extract too)
- Lazy susan/Turntable
- Disposable piping bags
- Nozzles of your choice (we used Wilton: 1M & 2D)
- Fuschia gel paste
- Melon gel paste
- x2 Offset palette knife
- x1 flat palette knife
- Wooden toothpicks
- Bench scraper
- x1 8 inch Cake board
- Ensure the buttercream is soft, if you think it's dry, give it a massage while it's in the piping bag. This will also remove any air bubbles.
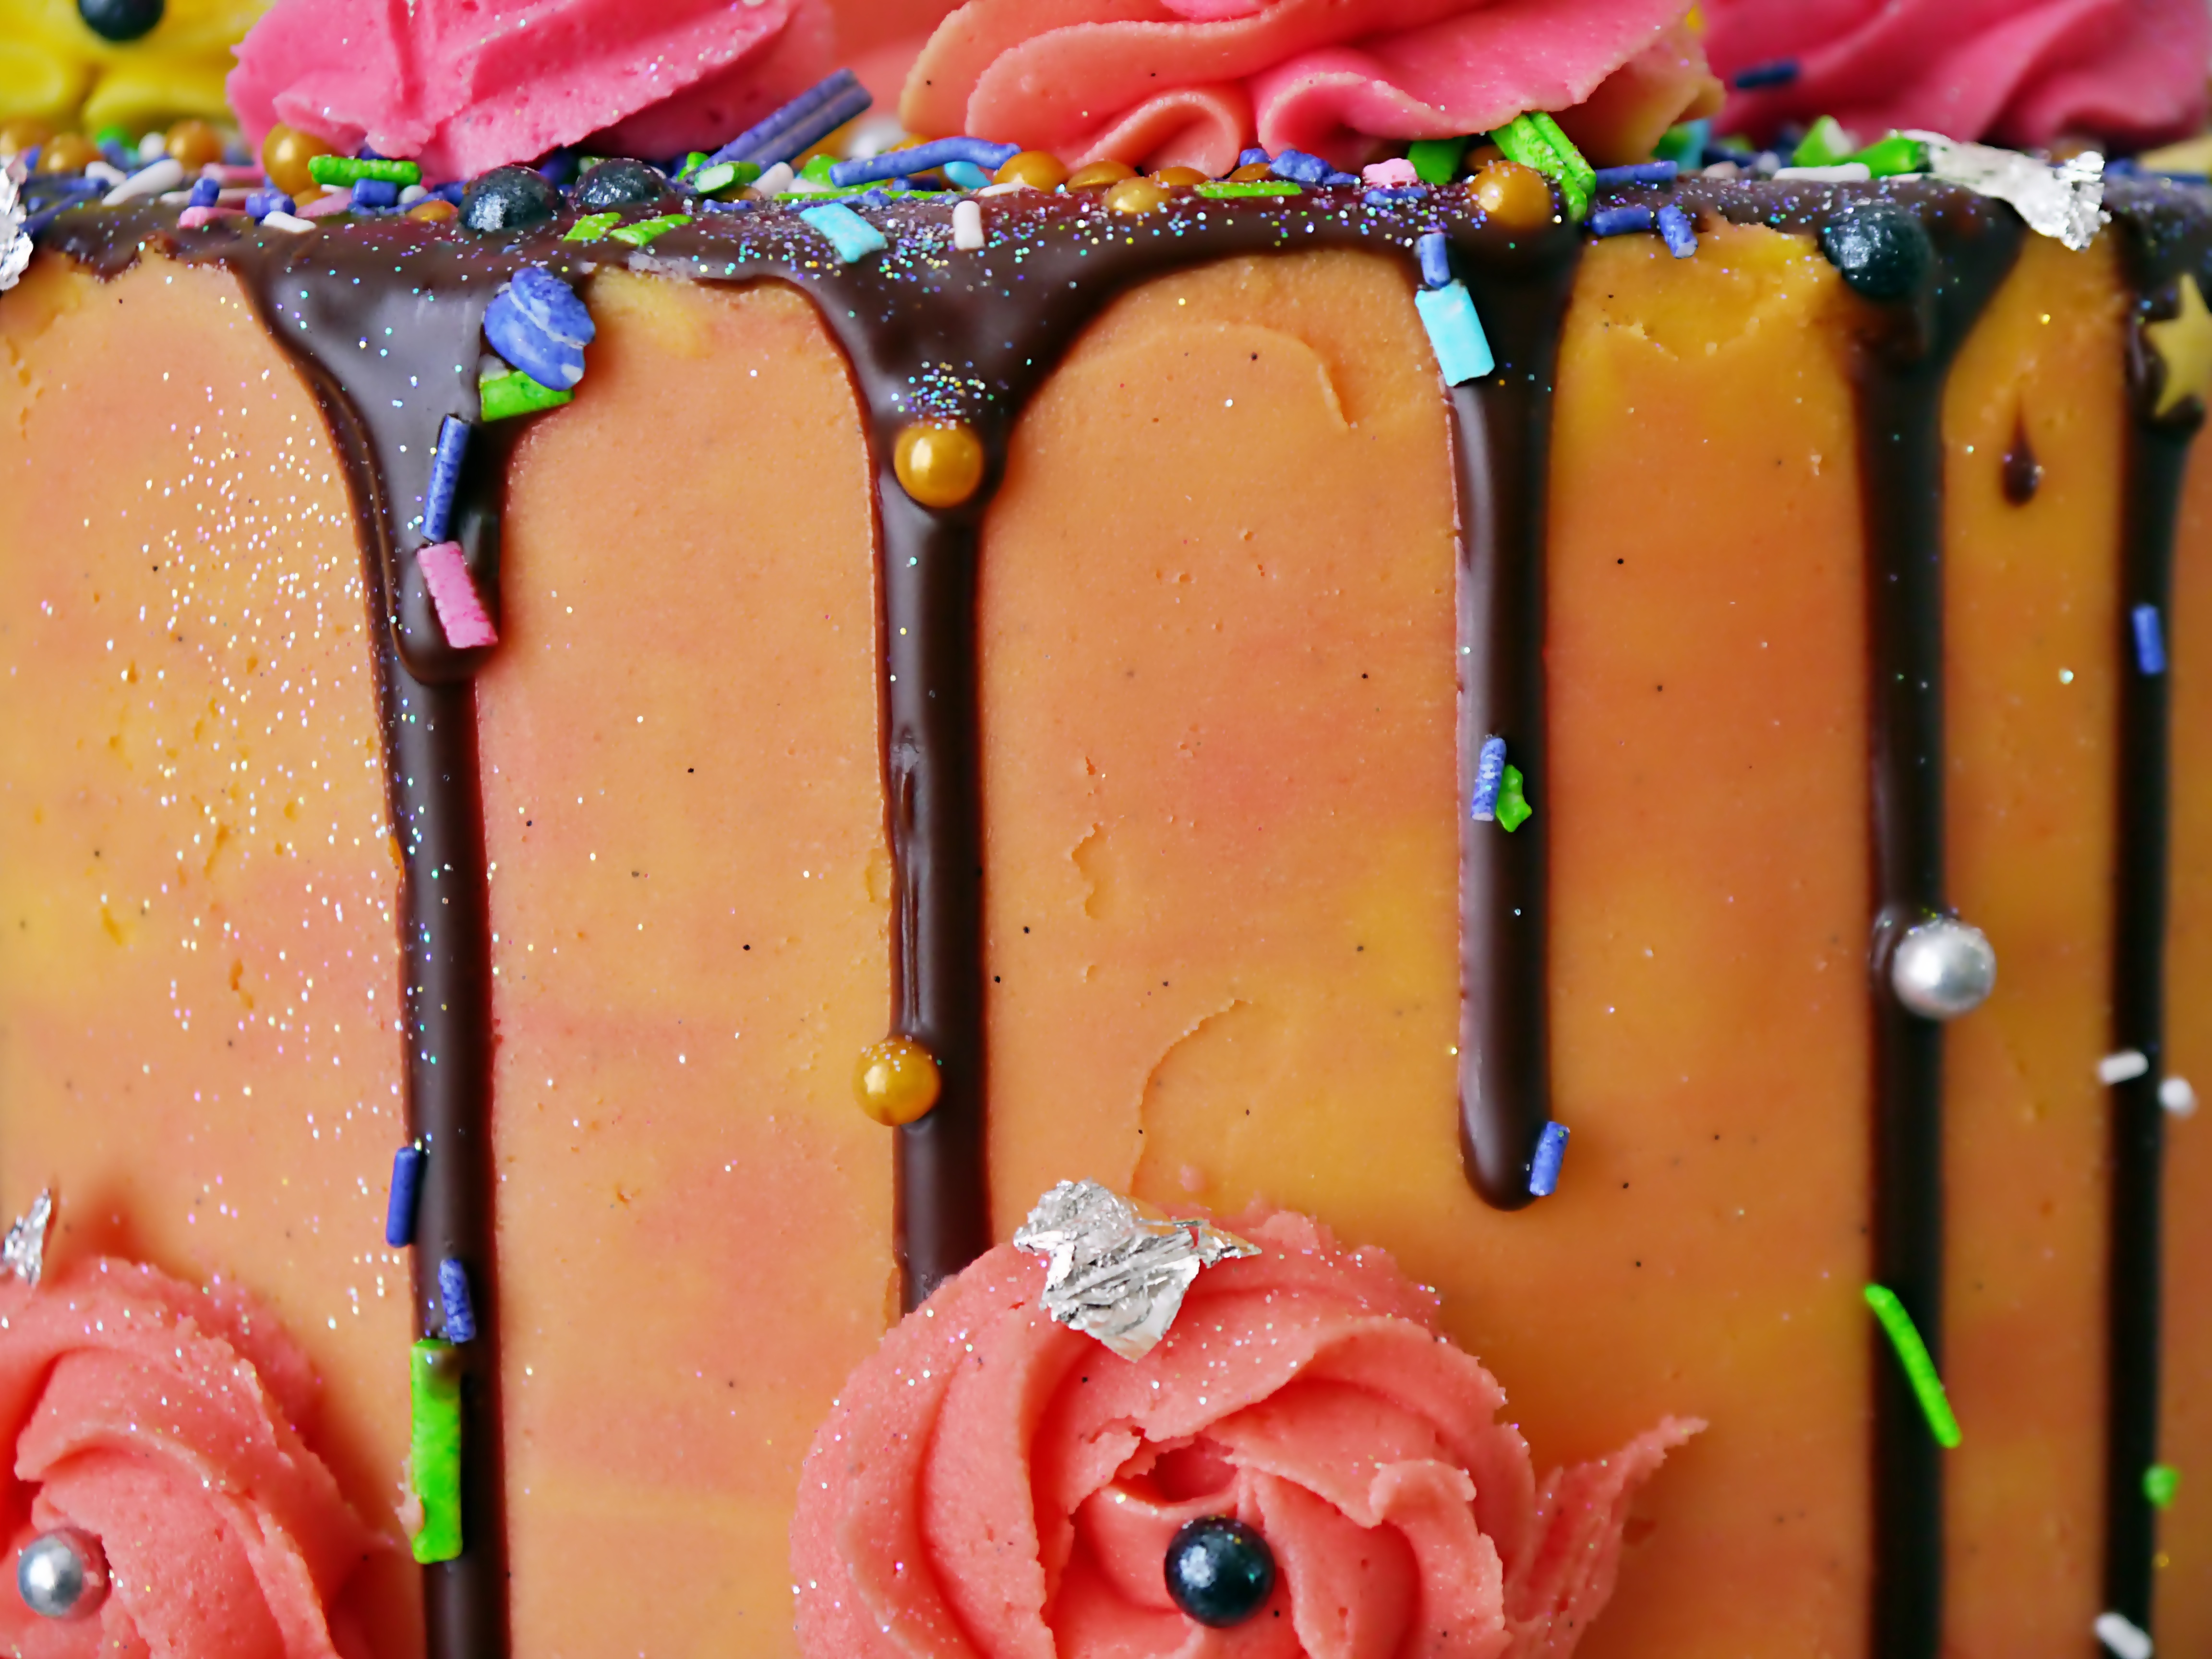
- For a two-toned colour effect: lay out a large piece of cling film. Spoon the yellow buttercream in a straight line and the same with the fuchsia, side by side. Roll the cling film tightly like a sausage. Snip off one end and place in the piping bag with a nozzle. Squeeze some out to get the desired colour.
- 150g dark chocolate
- 150g double cream
Best eaten on the day. Slice up and store in an airtight container and place in the refrigerator. It will keep well for five days.
There you have it, your own baked and fully decorated cake. Tastes extra delish and looks fancy. Make it for a birthday, wedding or party — pairs nicely with strawberry sorbet.