Halloween Cookies
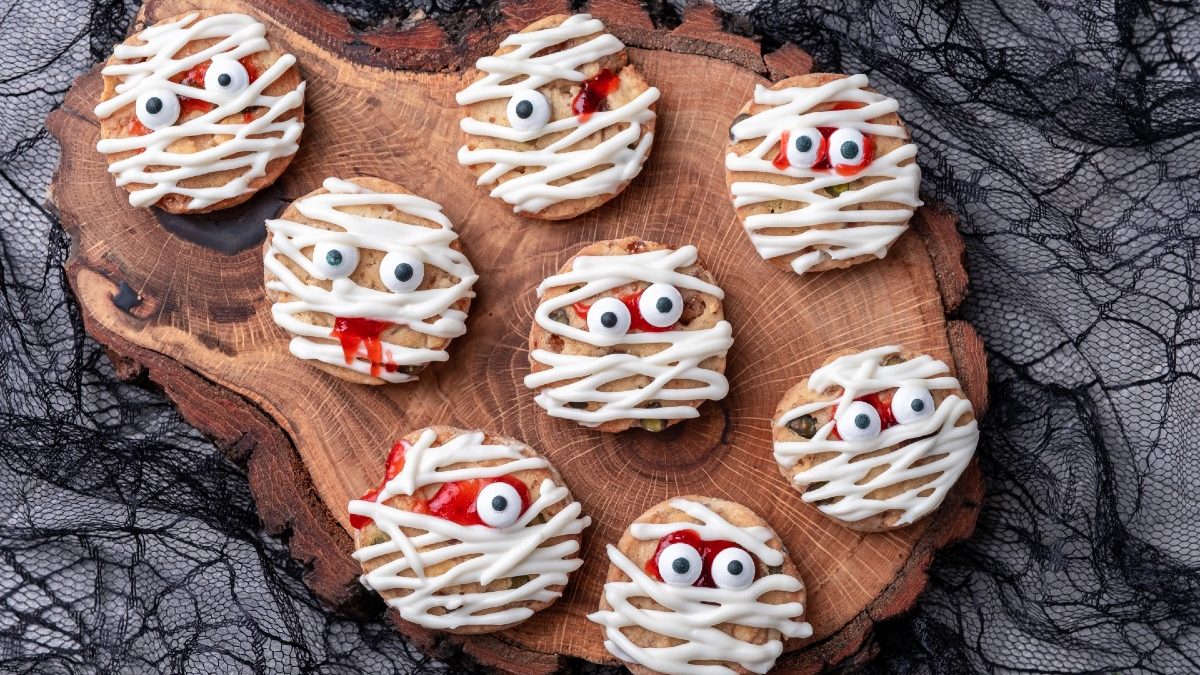
The devil be with us soon and in preparation, we thought we’d share our spooky mummy Halloween cookies with you all. Great fun to bake with the kids during half term. Super easy to make and the decorating is the fun part.
This recipe will make 24 cookies
Ingredients
- 150g salted butter, softened
- 100g caster sugar
- 1 medium egg
- 1 tsp vanilla extract
- 1 tbsp milk
- 220g self-rising flour, sifted
Decoration
- 150g royal icing mix
- 48 M&M’s (mixture of colours)
- Black edible decorating pen or black paste colour
Method
- Heat the oven to 170C/gas mark 5. Line 2 baking sheets with parchment paper.
- Beat the butter and sugar together, till its light and fluffy. Beat in the egg, vanilla extract, and the milk. Stir the flour in to make a dough.
- Scoop out the dough in tablespoons and roll into balls. You should get approximately 24. Spread out the balls evenly on the baking sheet, leaving an 8cm gap. Press a fork onto each ball to flatten it out slightly.
- Bake for 12 minutes or until golden (don’t burn them). Allow the biscuits to cool at room temperature before transferring to a wire rack.
- Decorating: Follow the instructions on the royal icing bag. Insert a flat nozzle into a piping bag and spoon the royal icing mixture in. Pipe flat lines over the cookies so they resemble bandages. Be sure to overlap the royal icing a few times. Leave space for the eyes.
- Colour the M&Ms with a black dot to make a pupil. Put a tiny bit of icing on the back of the M&M and stick onto the cookie. Allow the icing to set for an hour or till fully dry before eating.
- Store the cookies in an airtight container, use a sheet of parchment between layers if you stack them. They will keep for a couple of days.
Enjoy!
If you make our cookies, please do share your bakes on our social media channels.
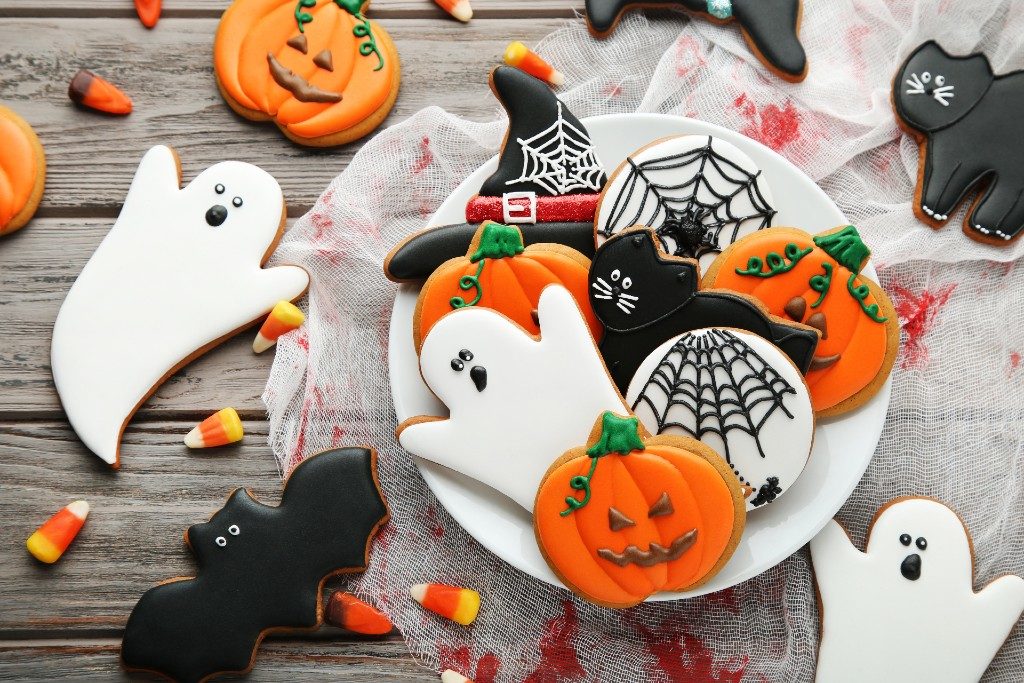
We have a basic shortbread recipe which you can use with Halloween cutters and decorate as you wish. See below for an image.