How to Make a Tall Cake
We love tall cakes, also known as double-barrel, a cake with more than 3 sponges, and we see some cake decorators love making them, but they can be daunting for those who are just starting in the baking world, but fear not, we have some super top advice for you to achieve a steller cake.
- Choosing the correct tins, you need to look out for the depth of the tin. Either 2 inches or 3 inches deep. Adjust your recipe accordingly to the tin; you can do that here: CakeOmeter
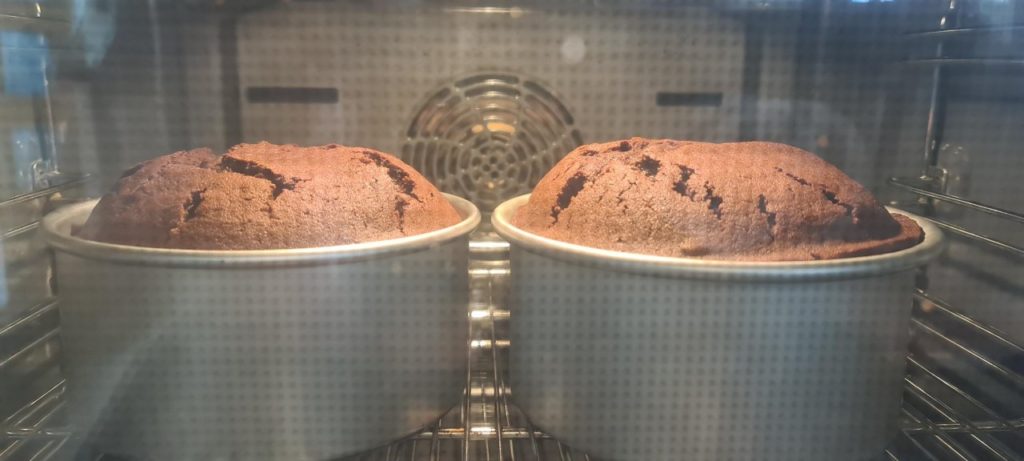
- Bake your cakes, allow them to cool at room temperature. Wrap in cling film and allow the crumbs to settle overnight. They can be stored in a cake box or a refrigerator. We have some lovely recipes on our blog to check out if you want to try something new.
- Prepare your buttercream/ganache/flavoured syrup.
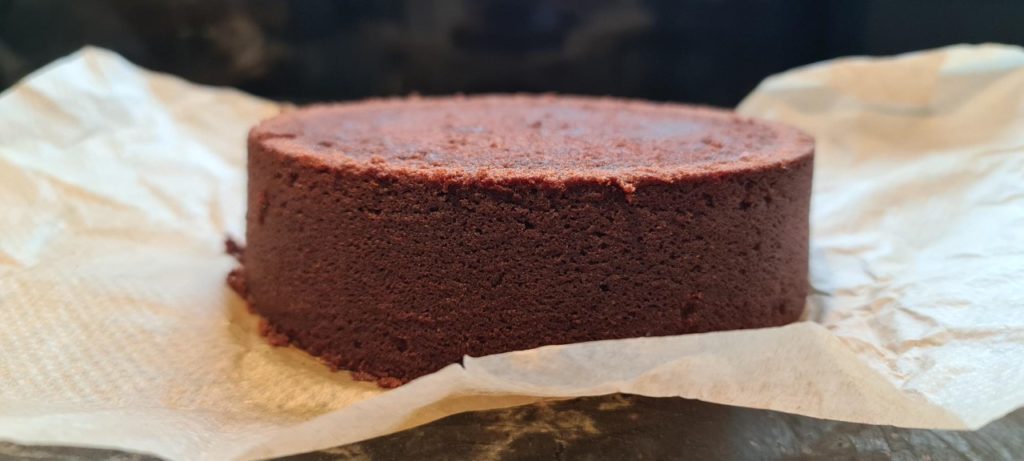
- If the cake is in the refrigerator, remove and allow it to come to room temperature. Torte, your cakes, remove the tops to make them perfectly straight. You can use a serrated knife or a cake leveller, which will make your life a whole lot simpler and save you lots of time. Offcuts can be used to make other things, so don't discard them; store them in a ziplock bag or a container.
- Have your tools ready: turntable, palette knife, dowels, cake card, cake drum, cake smoother, any fillings you're using (jam, curd, salted caramel), bowls, cling film, piping bag, round tip and a spirit level.
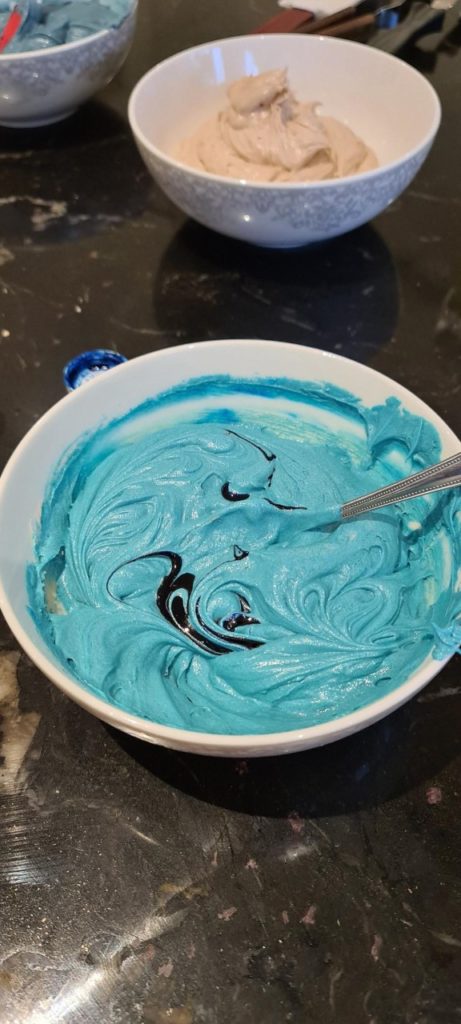
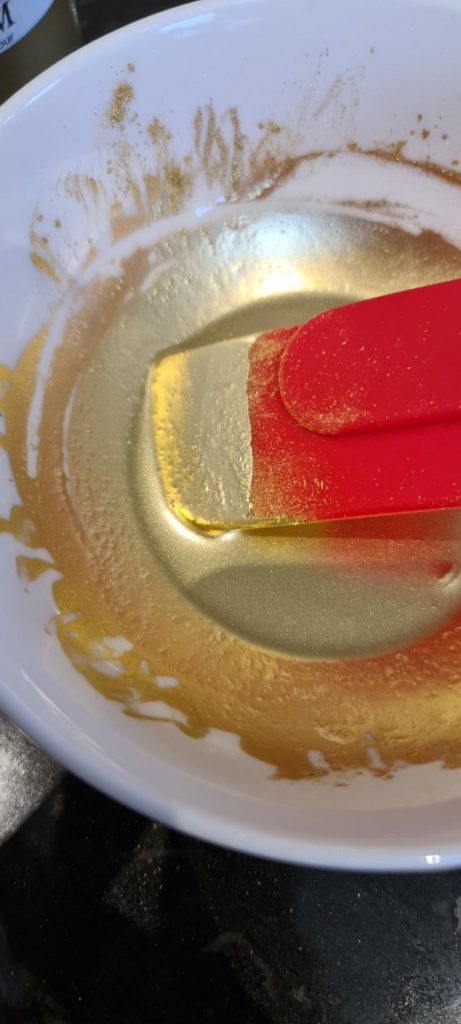
- You can colour the frosting with paste colours. We have a wide variety of colours.
- Fill the piping bag with your chosen frosting, fitted with a round nozzle.
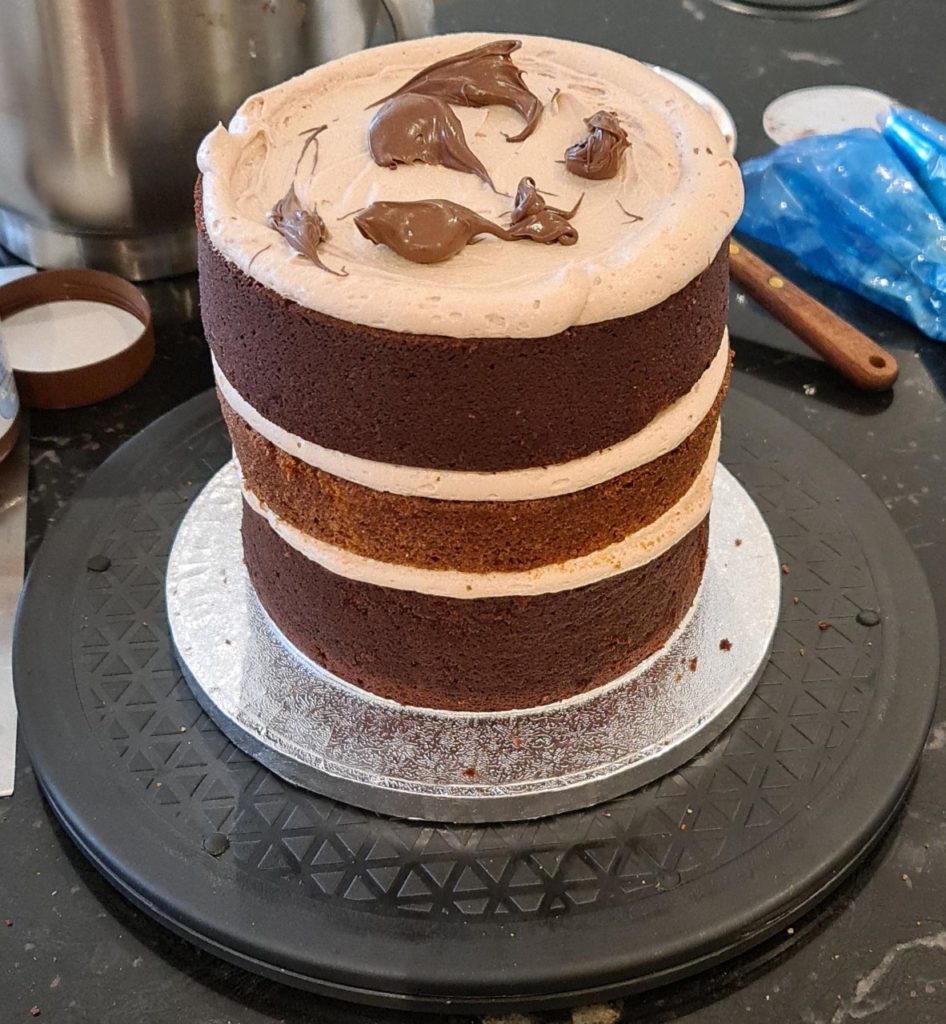
- Place the cake card on top of the turntable and put some frosting on it; smooth it out using the palette knife.
- Place one sponge on top and press down firmly. Pipe the chosen frosting onto the sponge, start on the edge and pipe around. Add your filling in the middle, then add a final layer of frosting on top. Smooth out using a palette knife.
- Repeat for the additional sponge. If you are making a 4 sponge layer cake, add a cake card in the middle, it should be one inch smaller than the cake. For example, if the sponge is 8-inch, add a 6-inch cake card. Dowel your two sponges first, then add the cake card. Place one sponge on top and repeat step 8.
- Once you are done, frost the sides of the cake and the top with the remaining frosting in the piping bag; smooth out using the palette knife, be sure all the sides are covered. Once smoothed, place in the refrigerator for 1hour or till the frosting is firm and set.
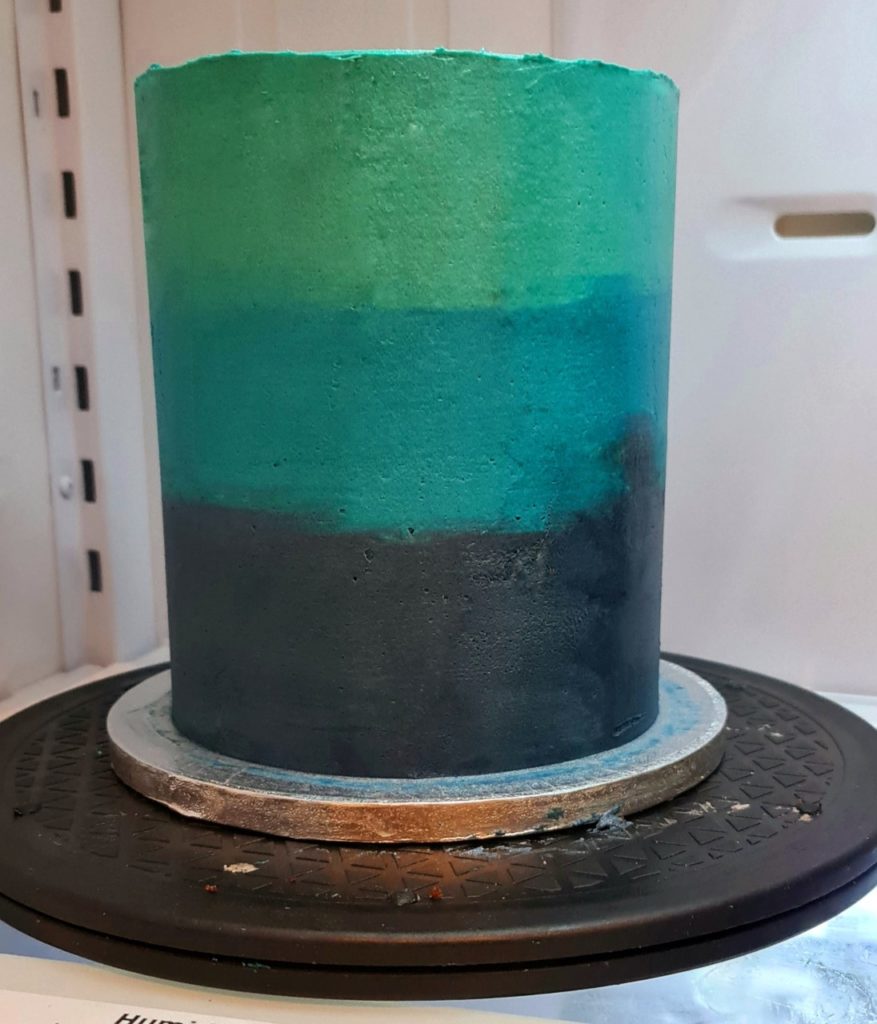
- If you do not have an acrylic disc, you can make one using your cake card. Cover it in cling film; make sure it's tight around the edges. Place the smooth side on top of your frosted sponge and if the top is not smooth, add chosen frosting to the disc and place on top. Press down firmly without distracting the other cake layers and the frosting.
- Add a layer of frosting to the sides, use the disc on top as a guide, to help you achieve a straight, tall cake. Use the cake smoother to smooth it out. Place it at a 90-degree angle, one hand on the smoother, and turn the turntable with the other. Take your time with this step, as you don't want to remove all the frosting, just the excess. If there are any significant gaps, fill them with frosting.
- Once you are happy, place it in the refrigerator for 1 hour or overnight.
- To remove the disc, use a tapered palette knife, dip in hot water and wipe with a towel. Carefully place the palette knife on the edge and go around it. The disc should pop right off.
- If the frosting has been disturbed, add a layer and smooth out using a palette knife.
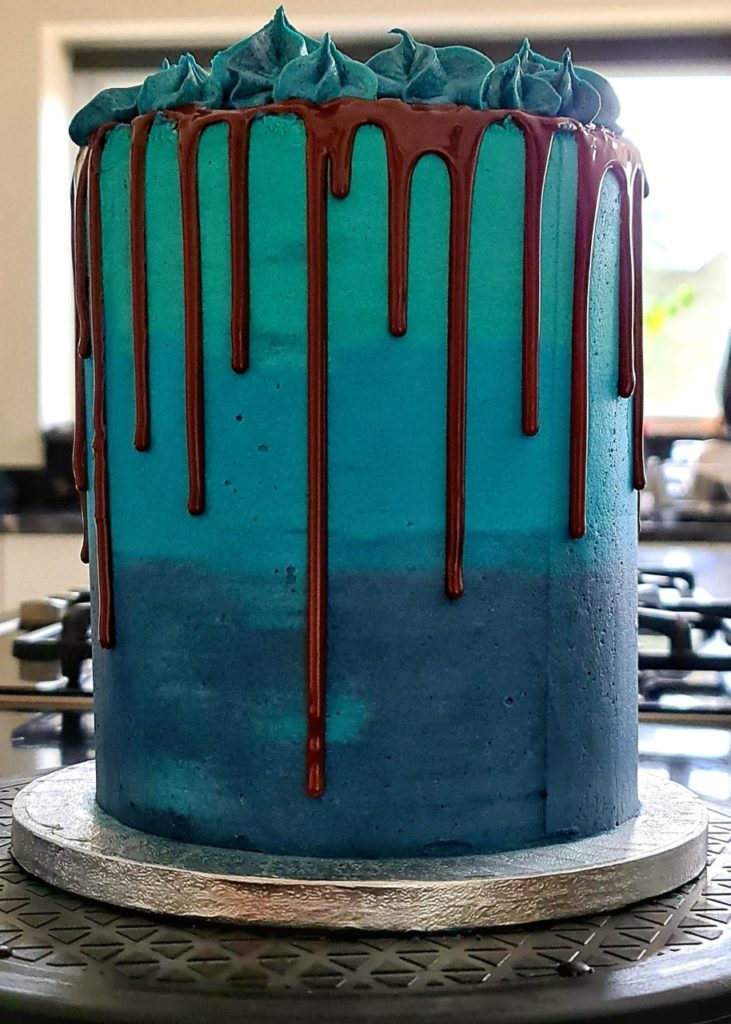
- The cake is now ready to decorate.
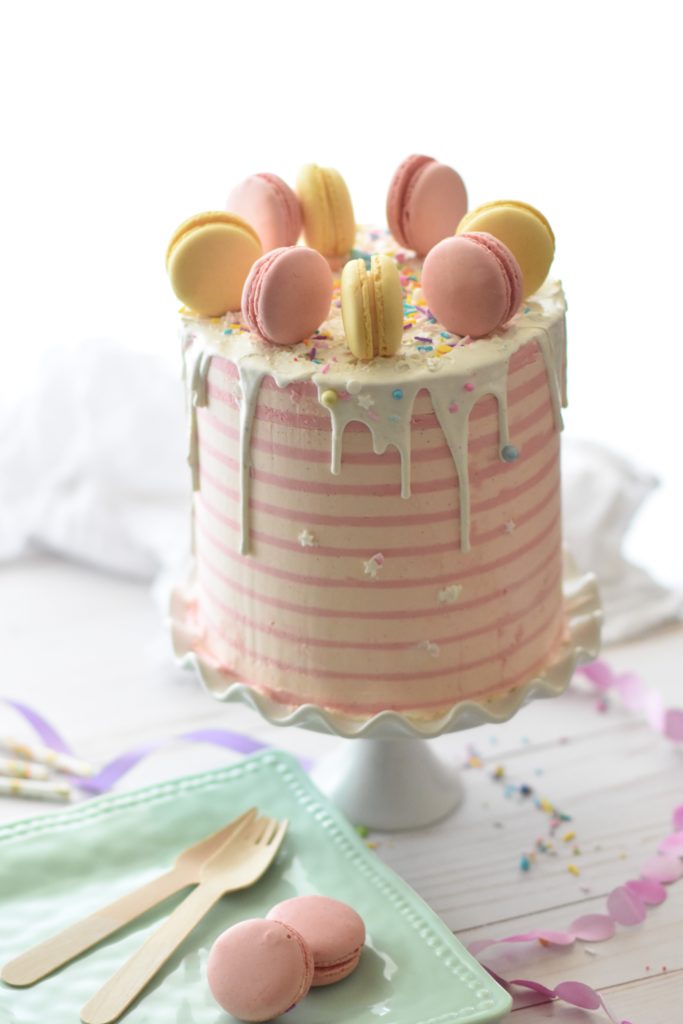
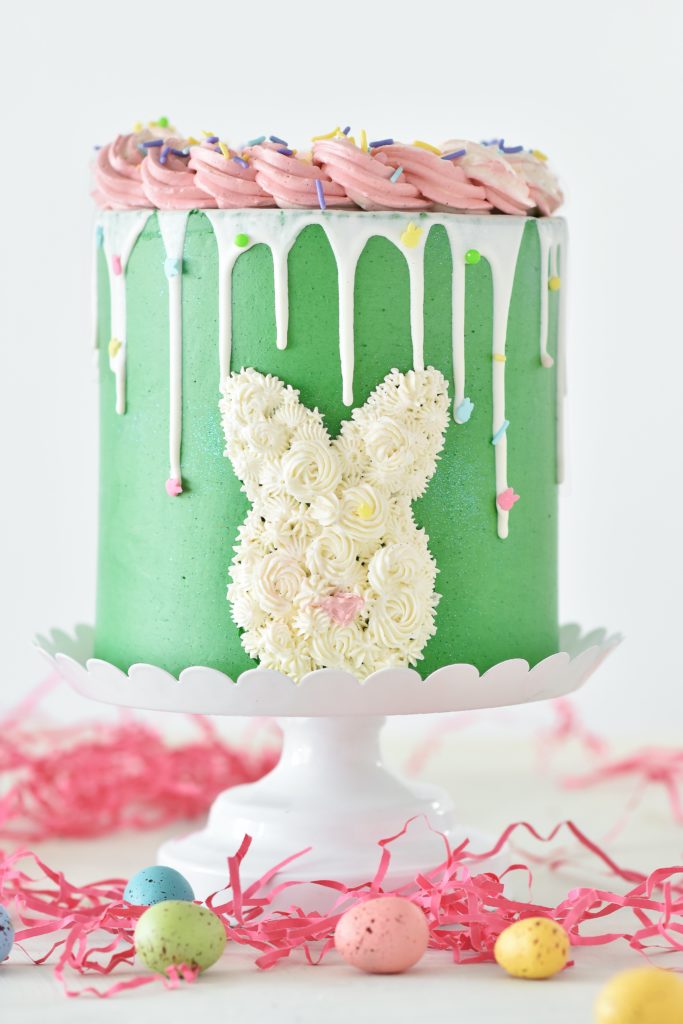
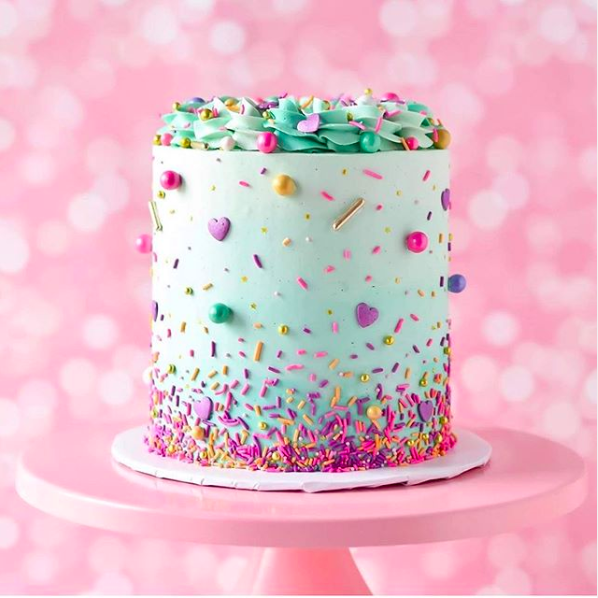
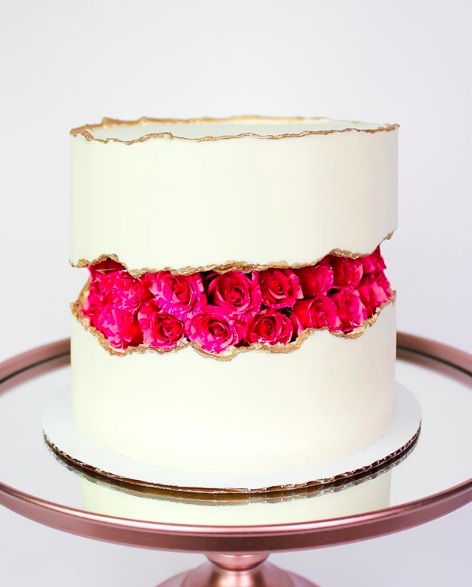
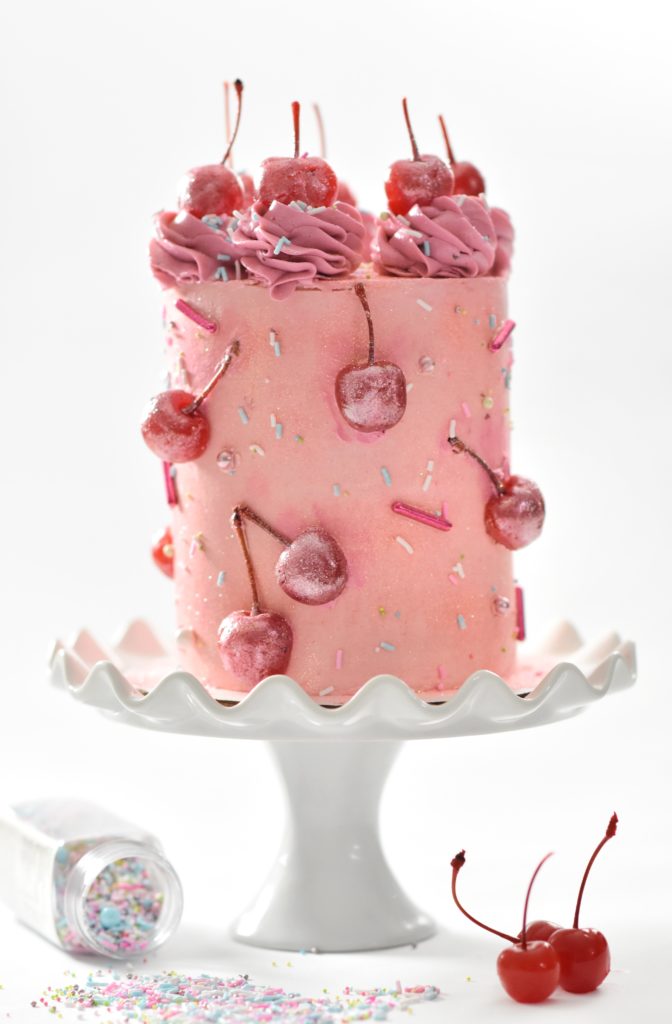
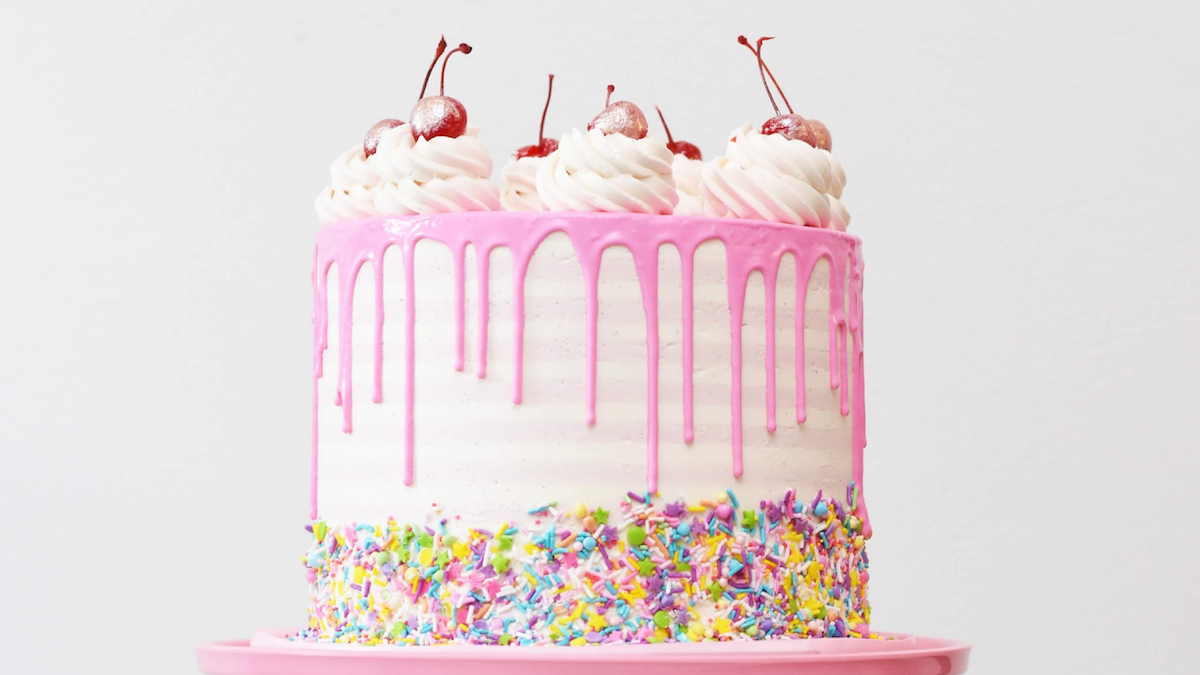
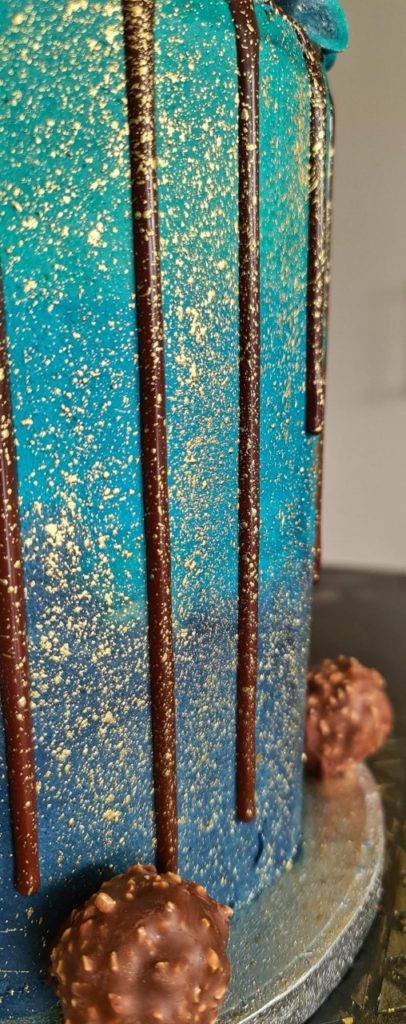
- Decorate with your frosting, chocolate drip, add sprinkles, whatever you like.
Follow our step by step images to achieve the tallest cake; with lots of practice, it will be second nature.


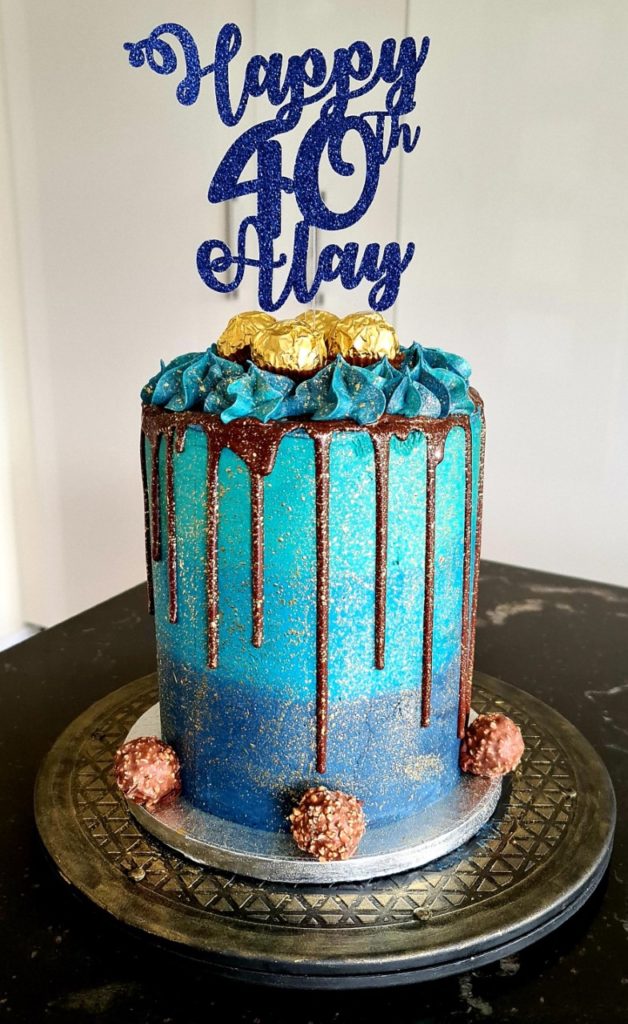
For the extra tall cake, be sure to package it in a box with extenders. If your cake is 8 inch, use a 10-inch cake drum and a 10-inch box. We have several boxes on our website, and we now stock Crystal Clear Cake Boxes too.
If you make a tall cake using our advice, please do tag us in your photos; we'd love to see :)